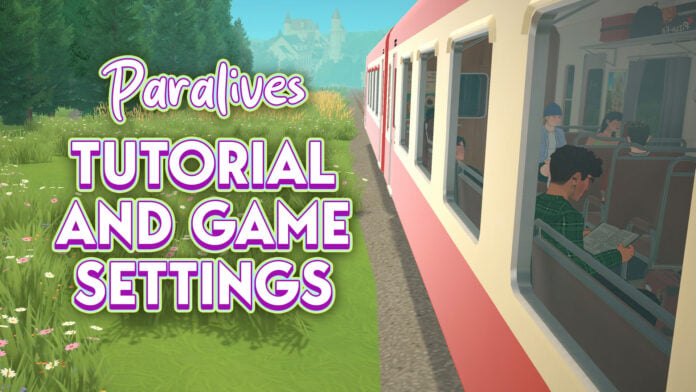
Paralives have a brand new tutorial when you begin a new save to help you get to grips with how to navigate around town and interact with Parafolk.
Learn how to ace the Paralives tutorial before you load up the game in this handy guide.
We have been covering lots of Paralives news in the lead-up to the release, and you can find all of our news and guides here.
Paralives Tutorial Guide
Loading up the game
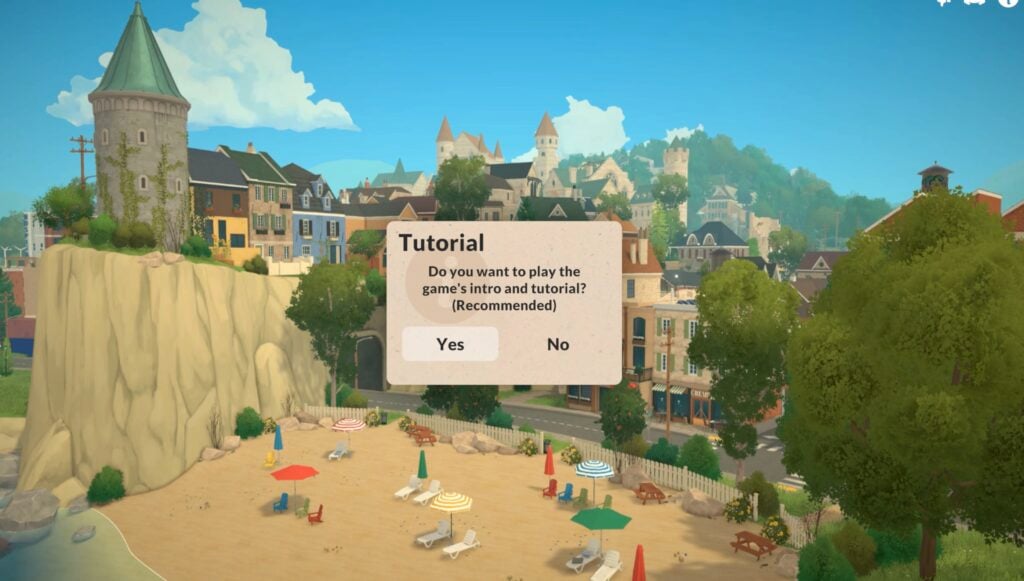
You’ll have two options once you open up the game: heading to town or starting in an empty terrain.
Clicking on the option to go to town will load up the tutorial.
Camera controls
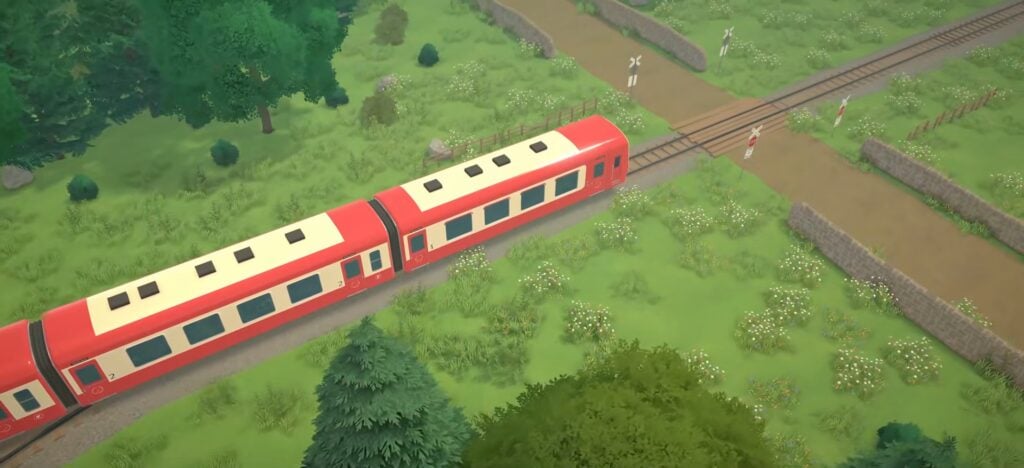
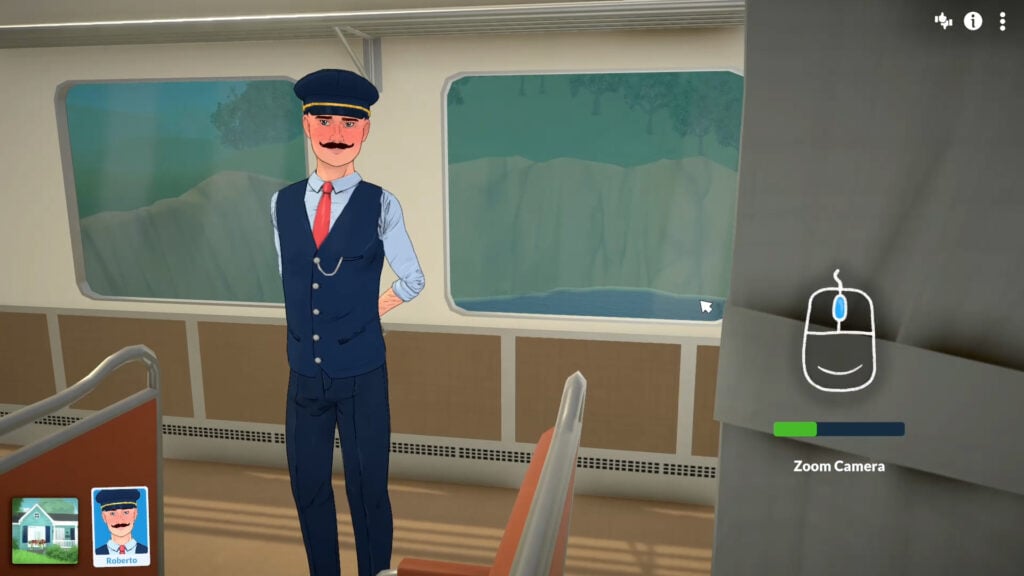
You’ll join Roberto, the train conductor, as he goes about his day checking on the train and the passengers.
Moving
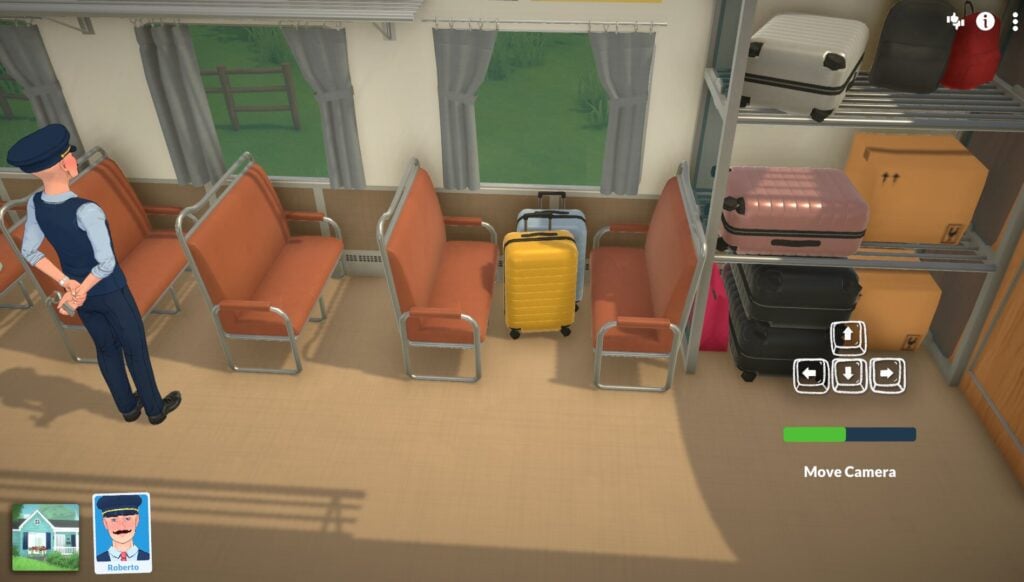
To move the camera, you can use either WASD or the arrow keys.
You can also turn on curser edge scrolling in the settings menu.
Rotating
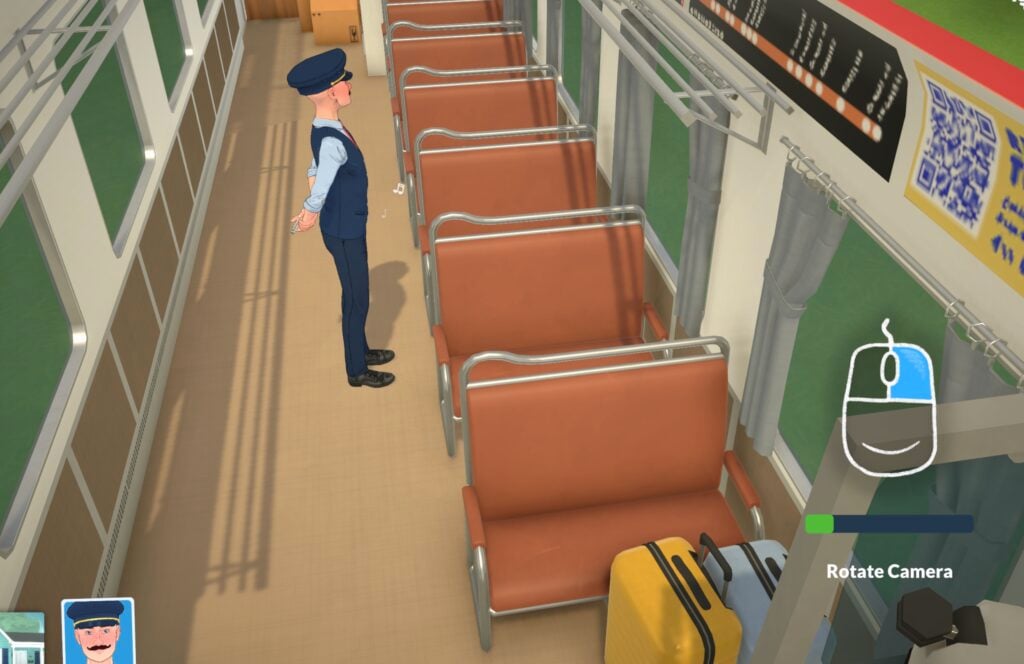
To rotate the camera, hold down the right mouse button and move the mouse in the direction you want to rotate the camera.
A quick tip: if you are on a Macbook or another laptop which doesn’t let you do this, you can also use keys Q and E to rotate, Q will rotate left and E right.
Zooming
Use the wheel on your mouse, or normal zoom controls on your trackpad if you’re using a laptop, to zoom in and out.
Moving Around
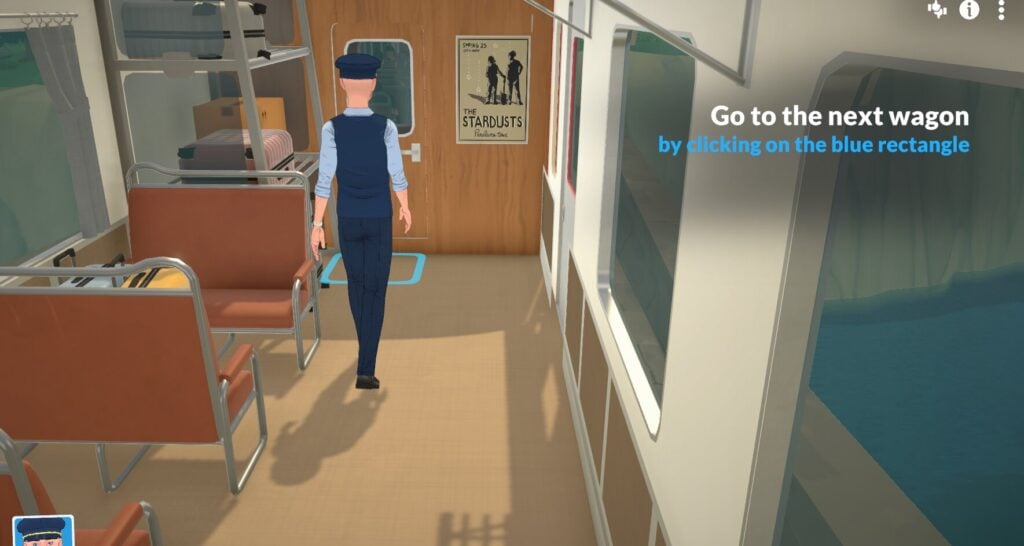
Just like other simulation games, to get from place to place, click on the floor and select go here.
Starting Your Story
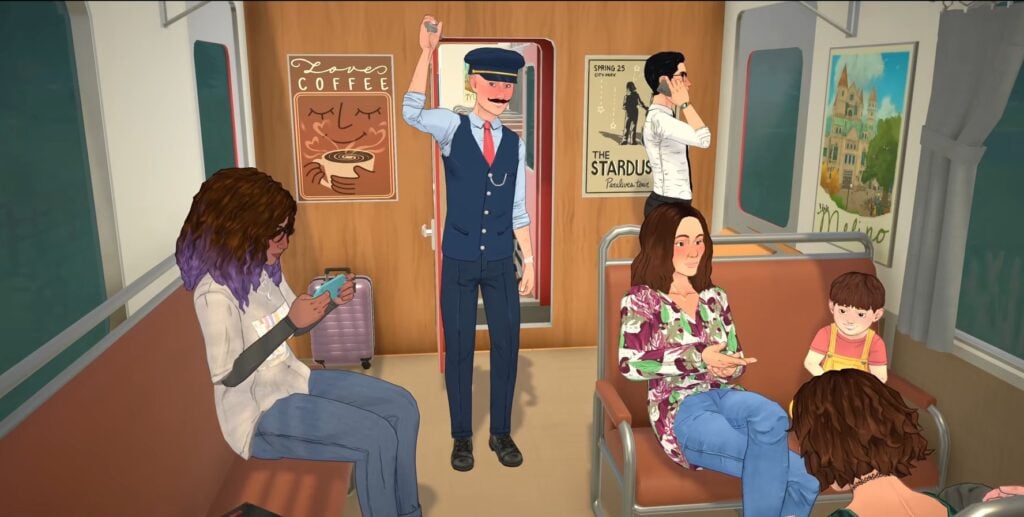
From here you can either get to know one of the pre-made townies or dive into Paramaker and make your own household.
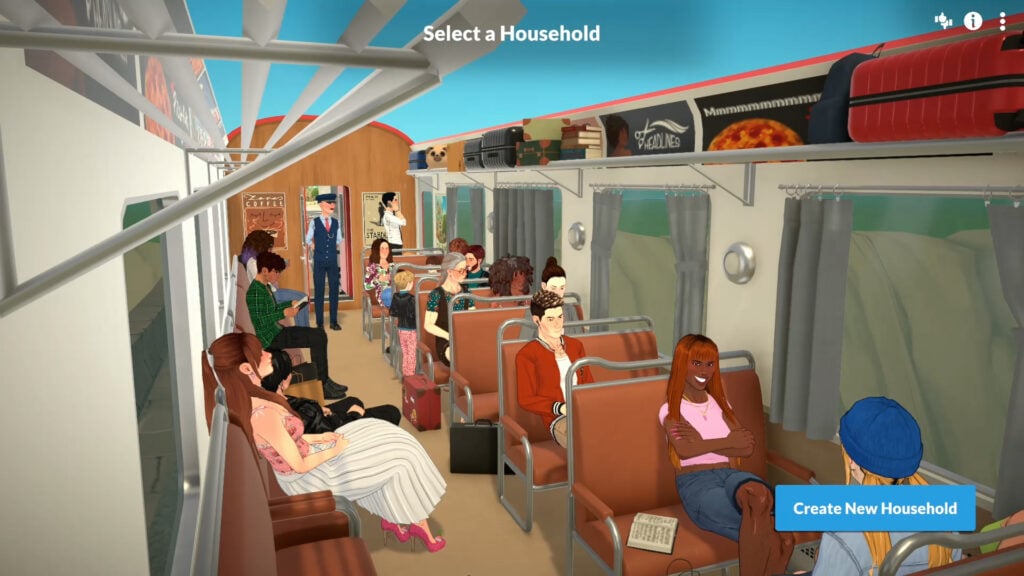
A Quick Look At The Premade Paralives Households
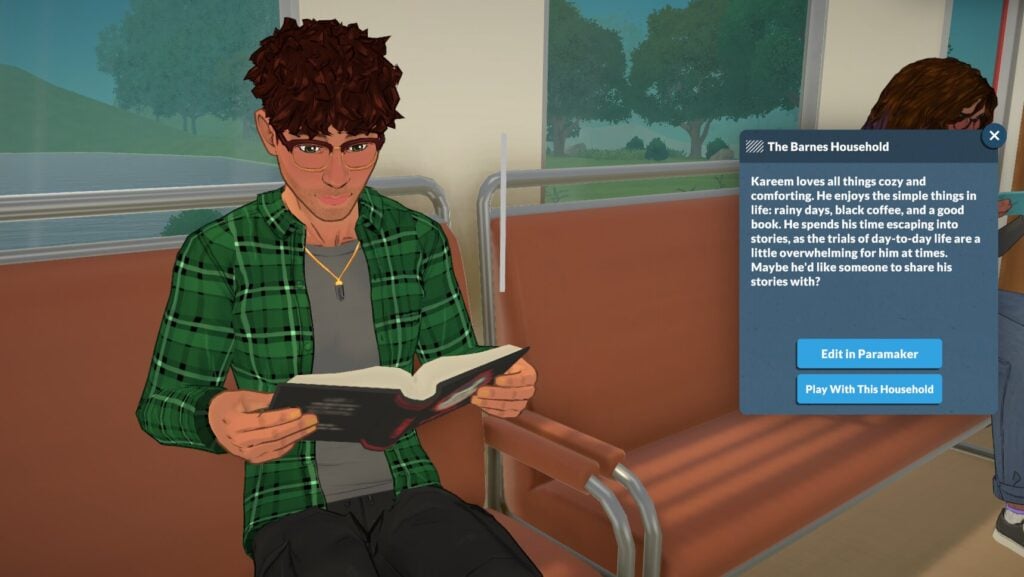
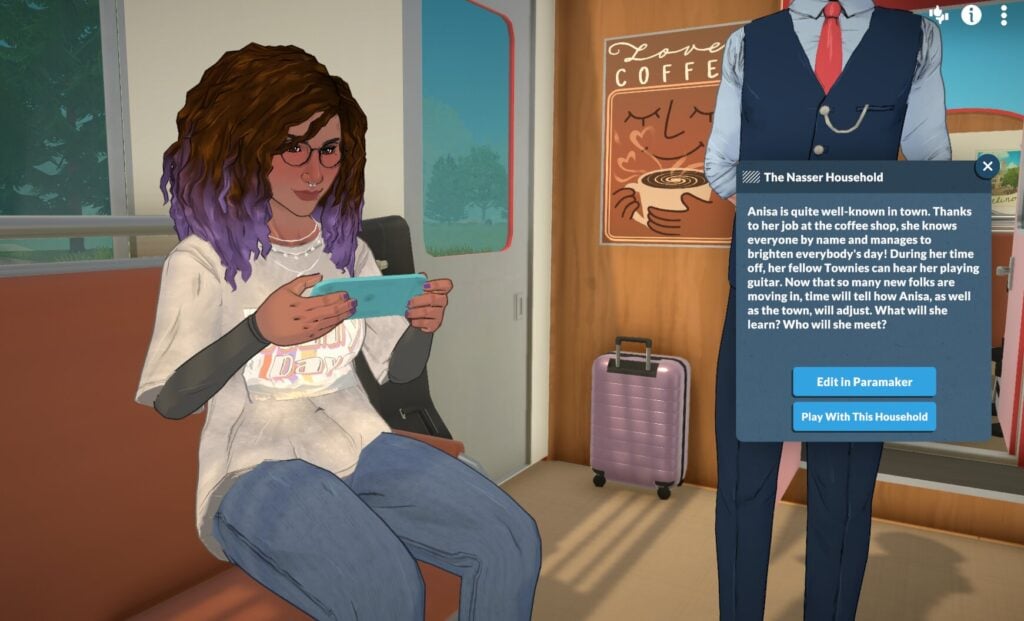
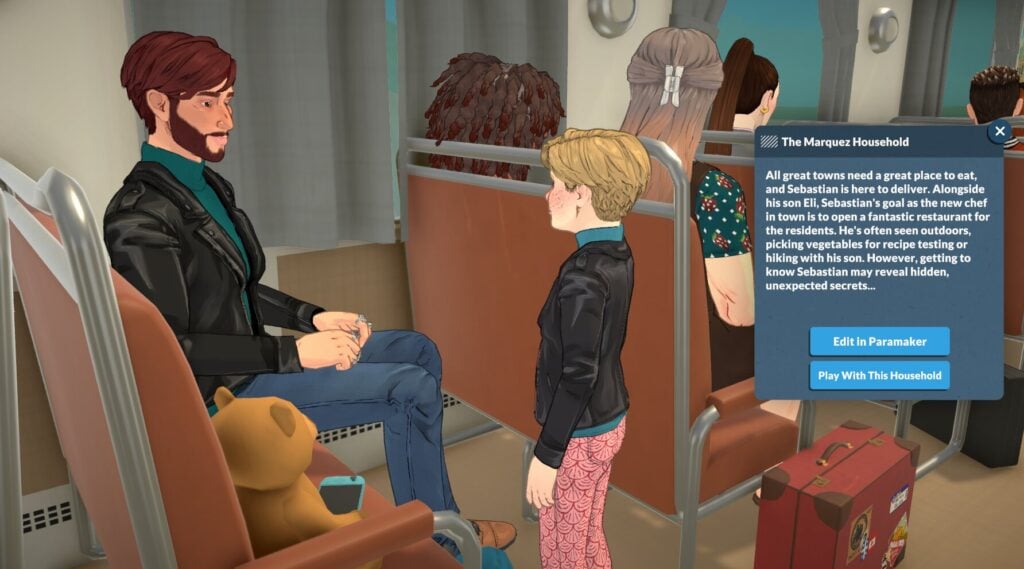
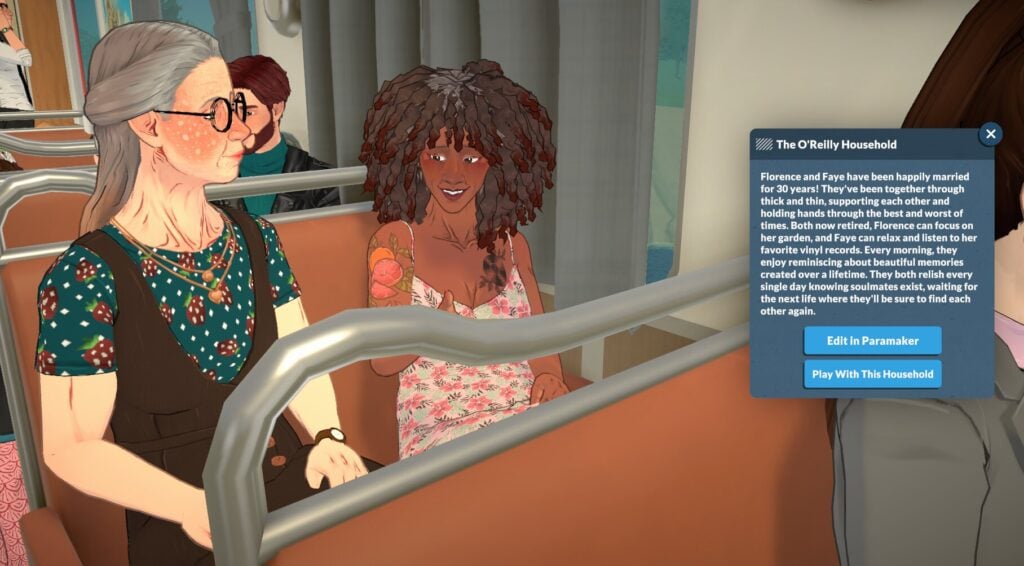
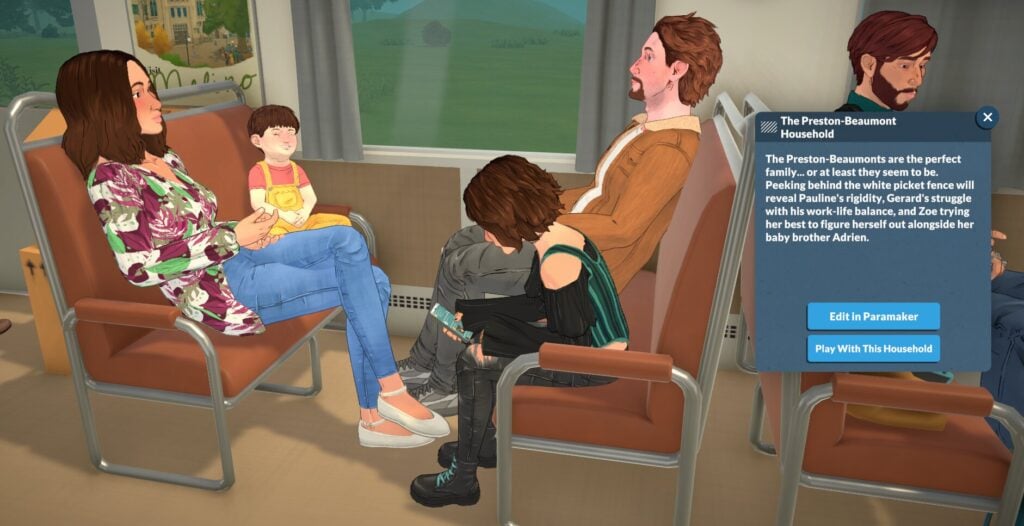
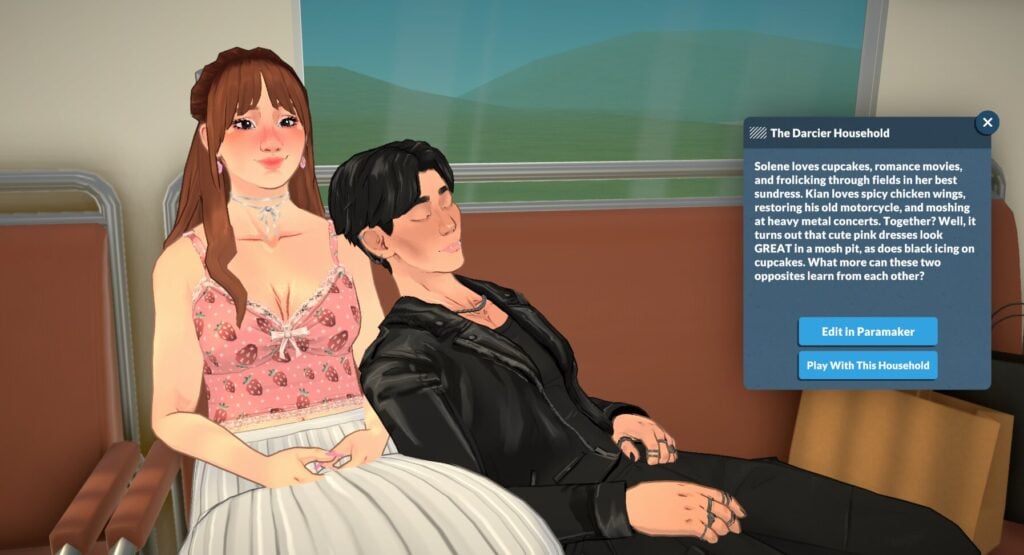
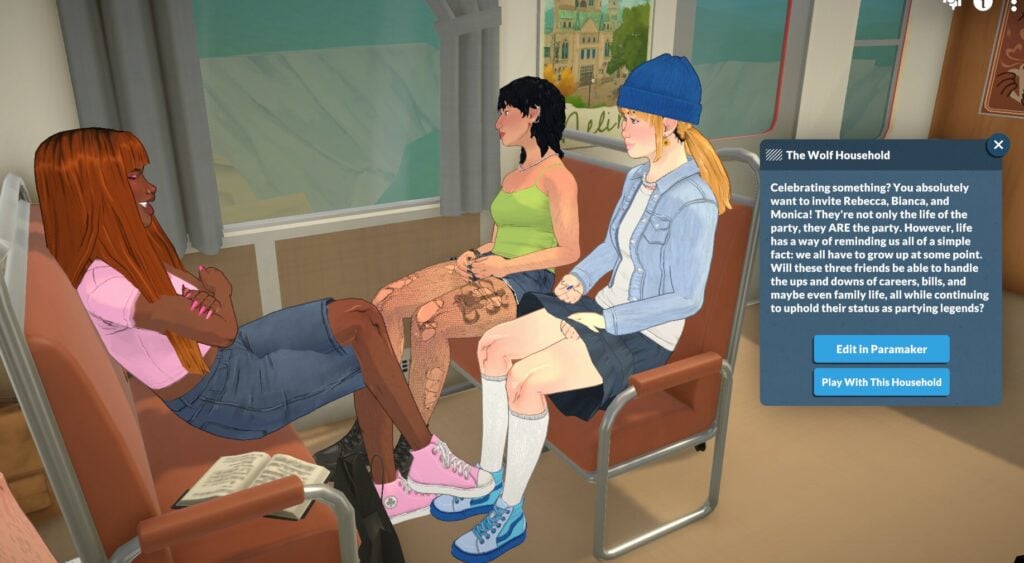
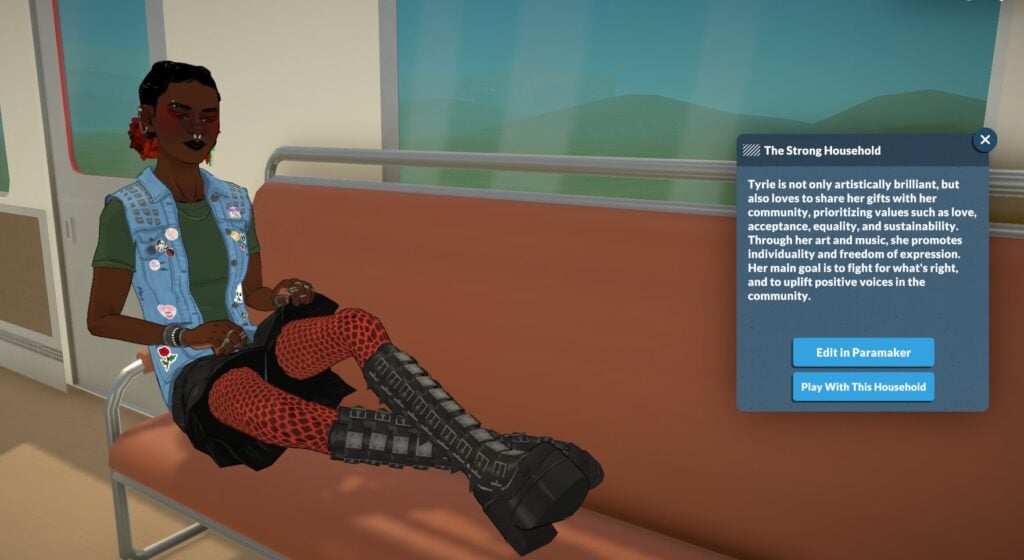
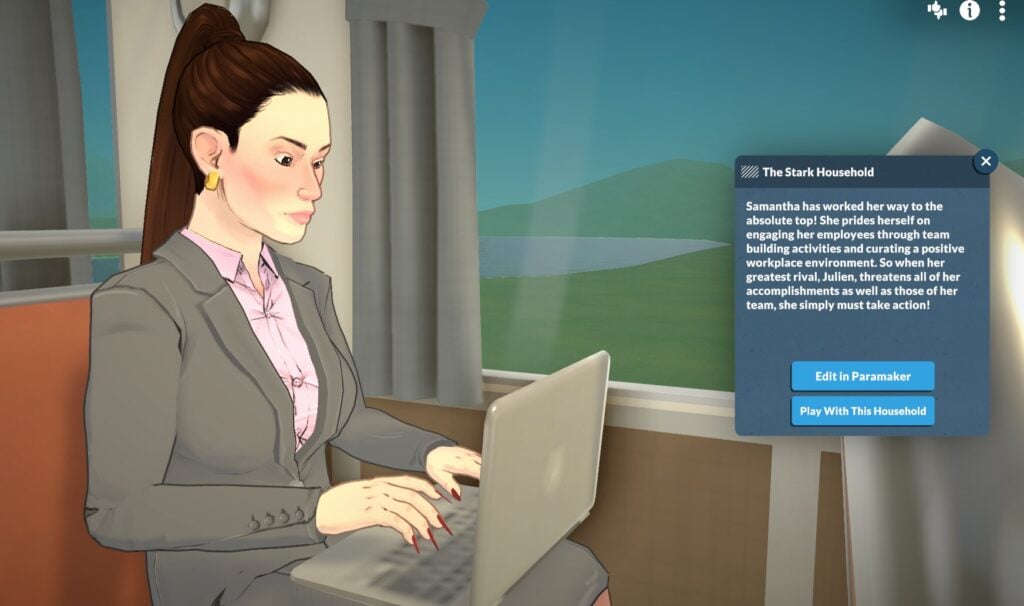
Once you’ve selected your family or created your own, you will continue on with the Paralives tutorial and move through the carriage.
Emotions & Wants
Next, the Paralives tutorial will walk you through navigating emotions and wants.
Paralives emotions work slightly differently to how other life simulation games out at the moment. Each emotion is triggered by actions or events happening around them or during activities, and you get to choose how your Para reacts to whatever emotion they’re feeling.
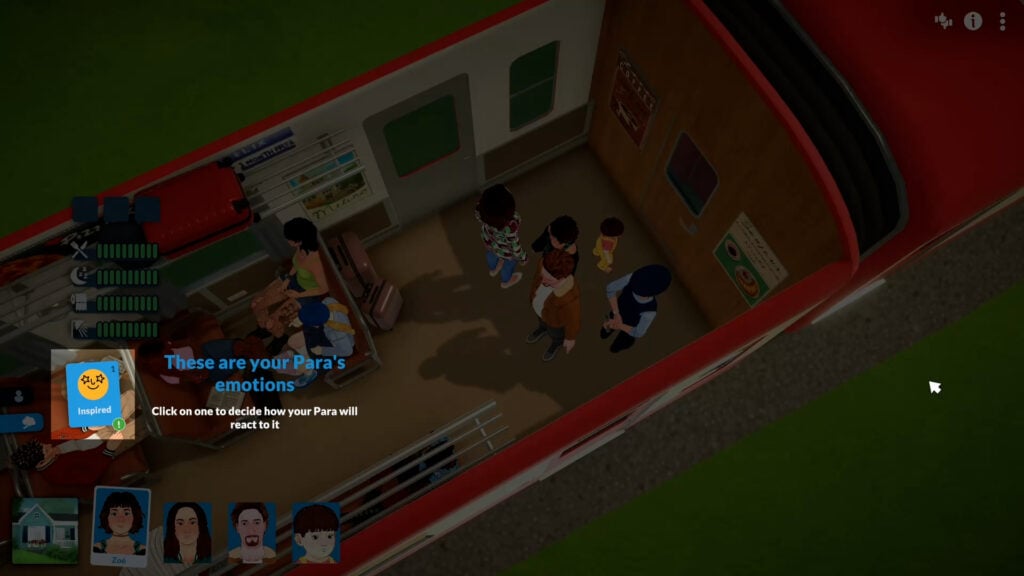
Clicking on the emotion card will bring up a few different wants for you to choose from. Wants are short-term goals, and will reset every night unless you pin them.
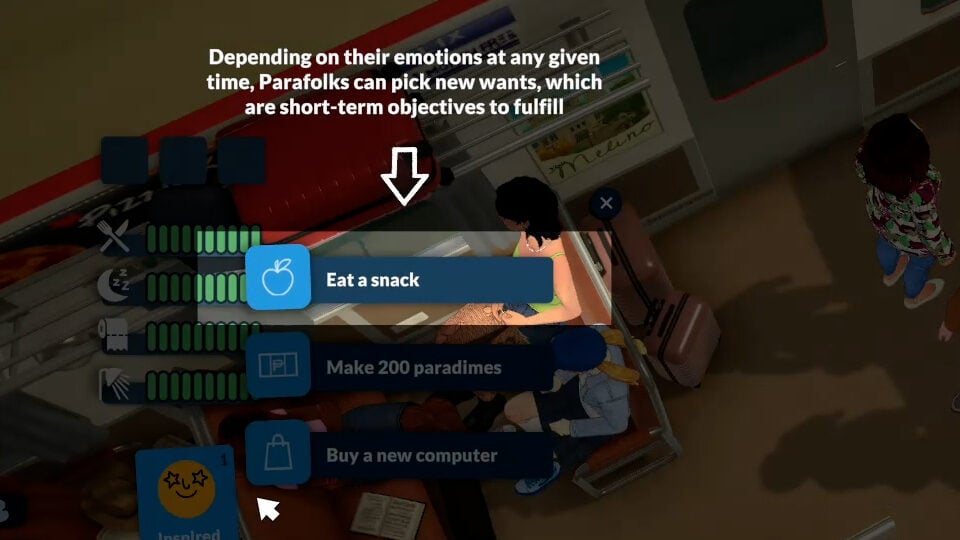
Any active wants will be in the spaces above where the needs are displayed.
Selecting Multiple Parafolk
Doing activities as a group is key to building relationships and getting things done smoothly, so it seems natural that the Paralives tutorial should get you comfortable with how to do this.
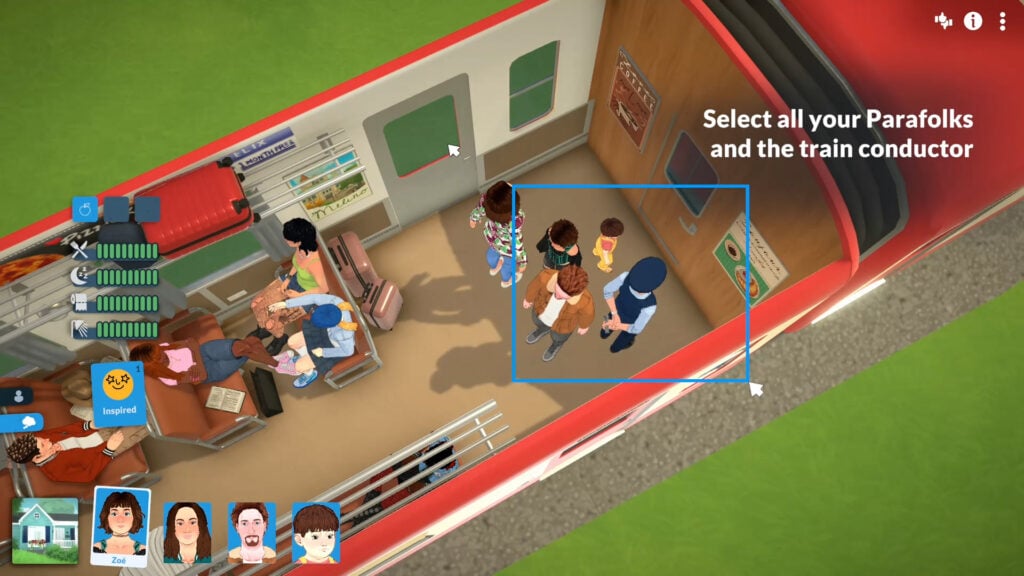
To form a group, click and drag the space around your Parafolk. Any Parafolk in the blue area will be added to your group, and you’ll be able to move around and do things together.
Learning How To Socialise With Other Parafolk
When your group of Parafolk spend time together, you’ll notice the together bar fill up slowly as time goes on.
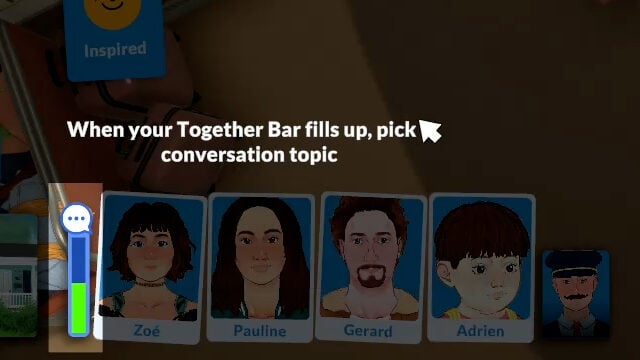
Once the bar fills up, you’ll be able to choose a together card.
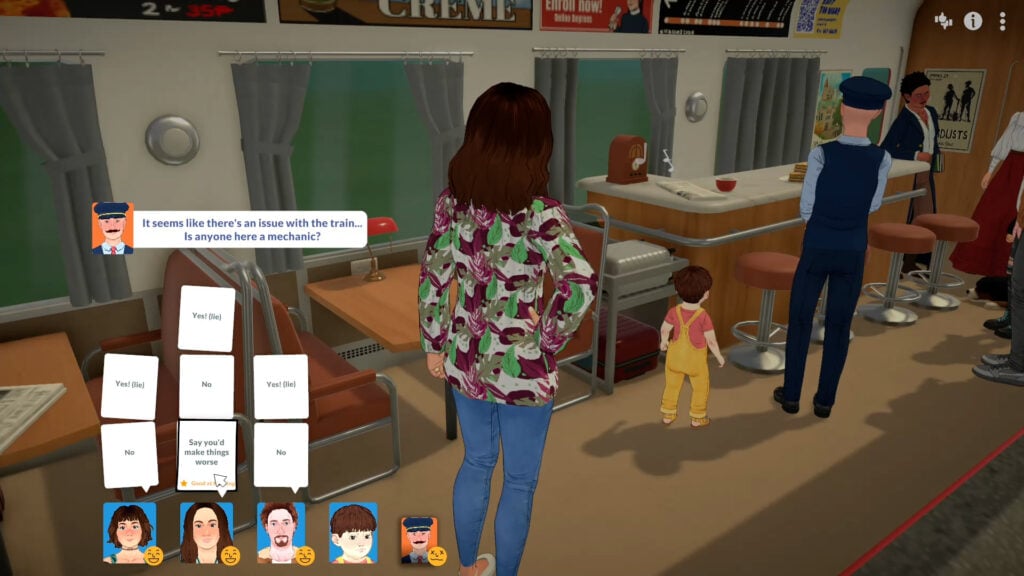
Together cards control the conversation, and the Paralives tutorial gives you a small introduction to how they work.
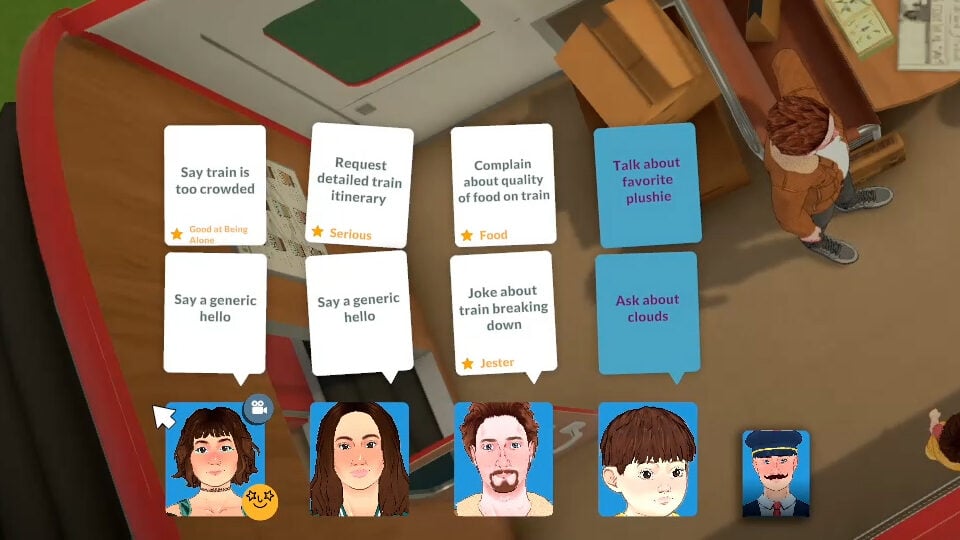
Selecting one of these together cards will influence the flow of conversation and the group’s mood.
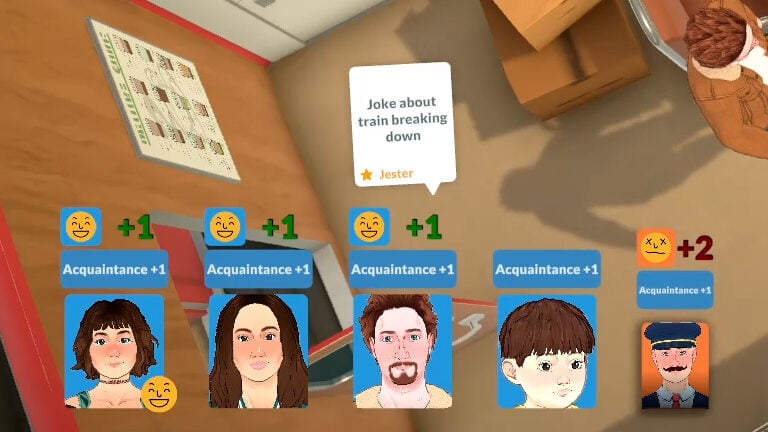
The reaction to whatever is selected will differ between Parafolk. Clearly, the train conductor didn’t appreciate any jokes about the train breaking down, since it’s made him stressed!
For a more detailed overview of how together cards work, have a look at our Paralives relationships breakdown.
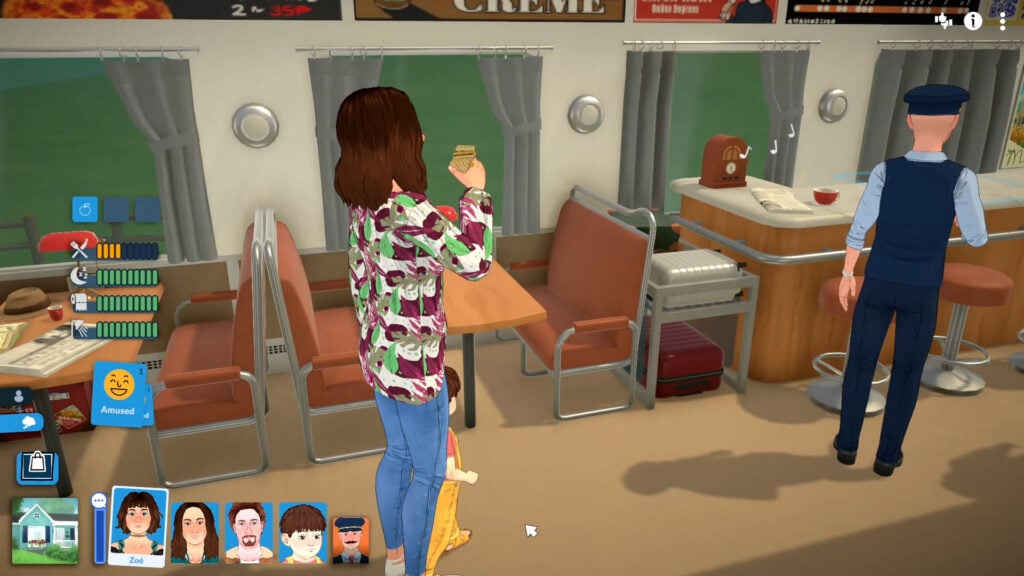
Managing Needs
Just like other life simulation games, Parafolk have needs which need to be looked after.
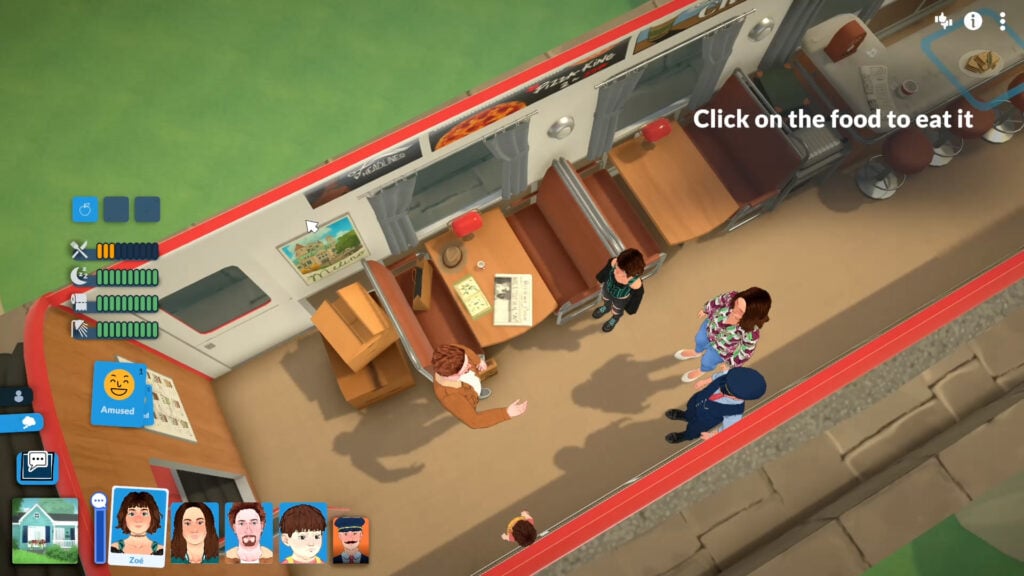
The Paralives tutorial teaches you how to manage these by having you get your Parafolk to eat some of the train food, since their hunger needs are low.
Storytellers
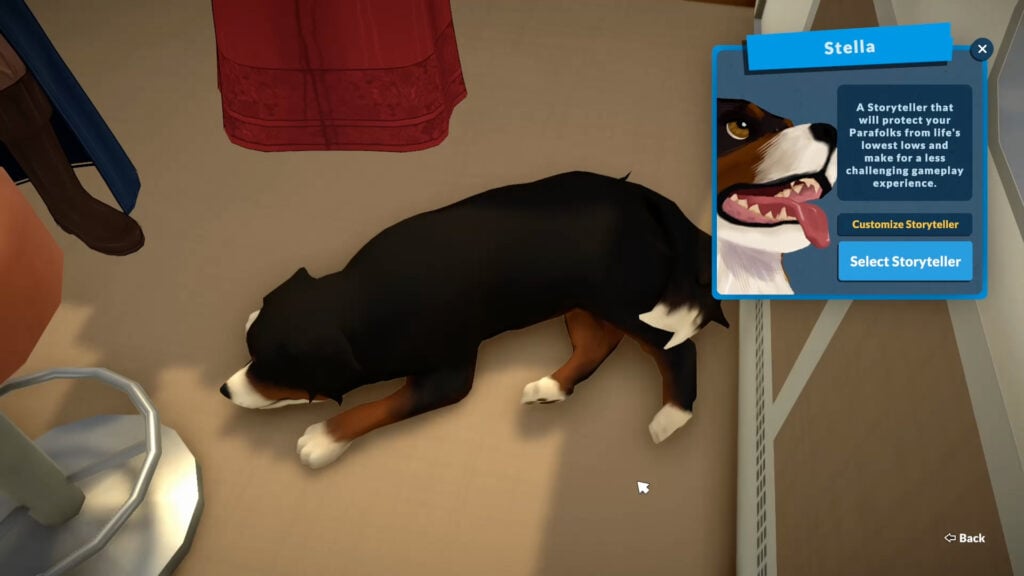
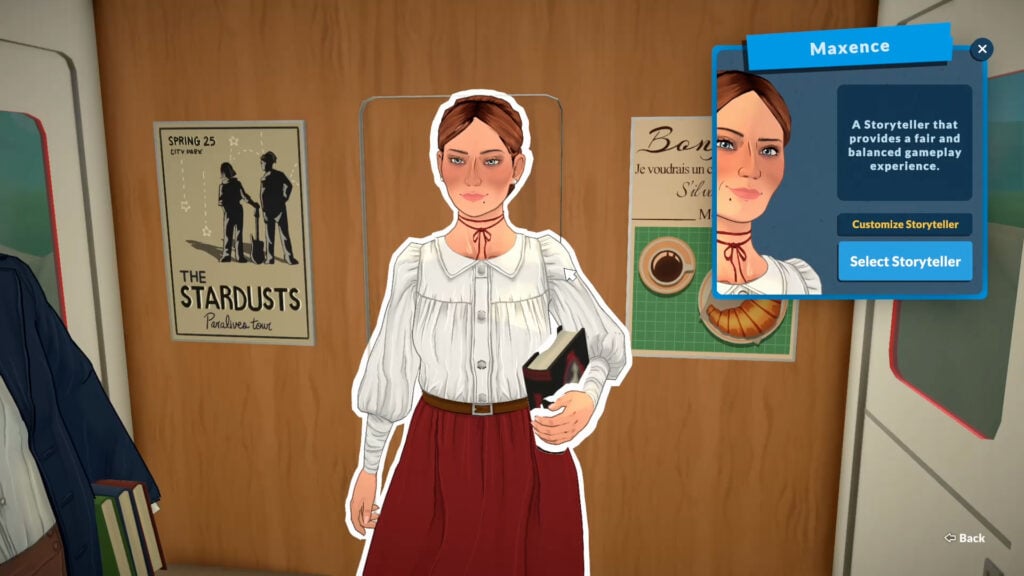
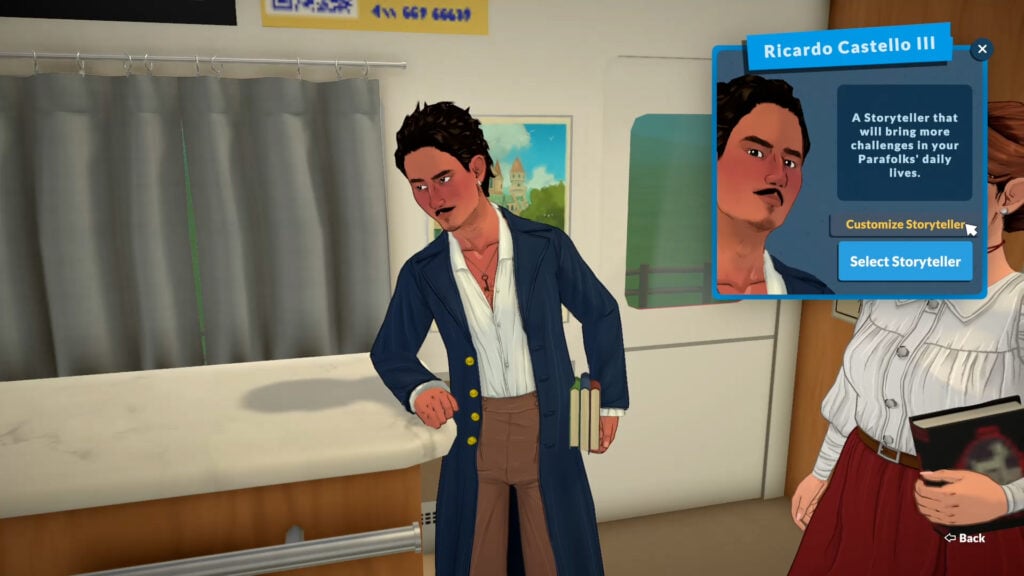
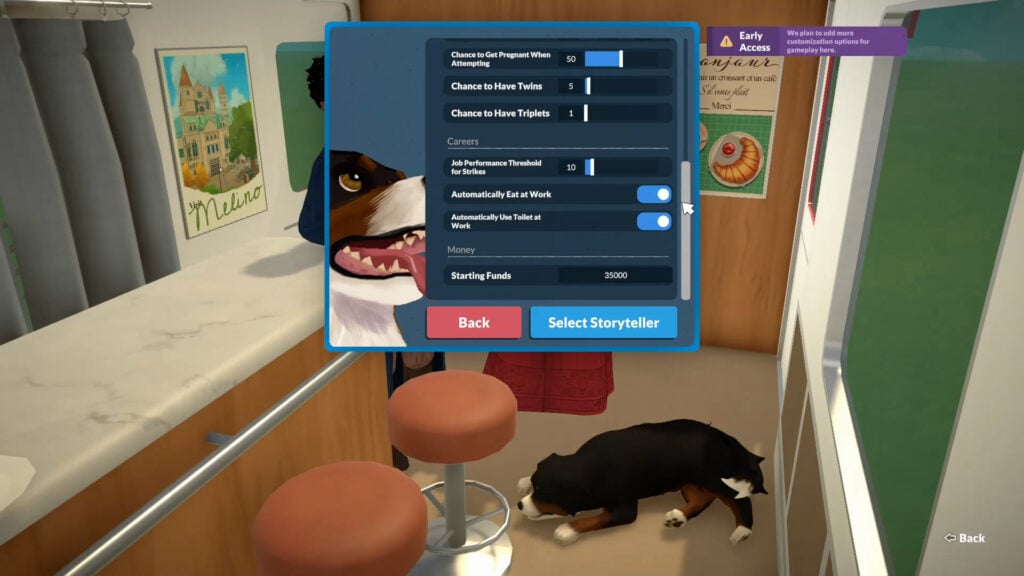
The storytellers play a huge role in Paralives, so it’s only natural that your first introduction to them is in the Paralives tutorial.
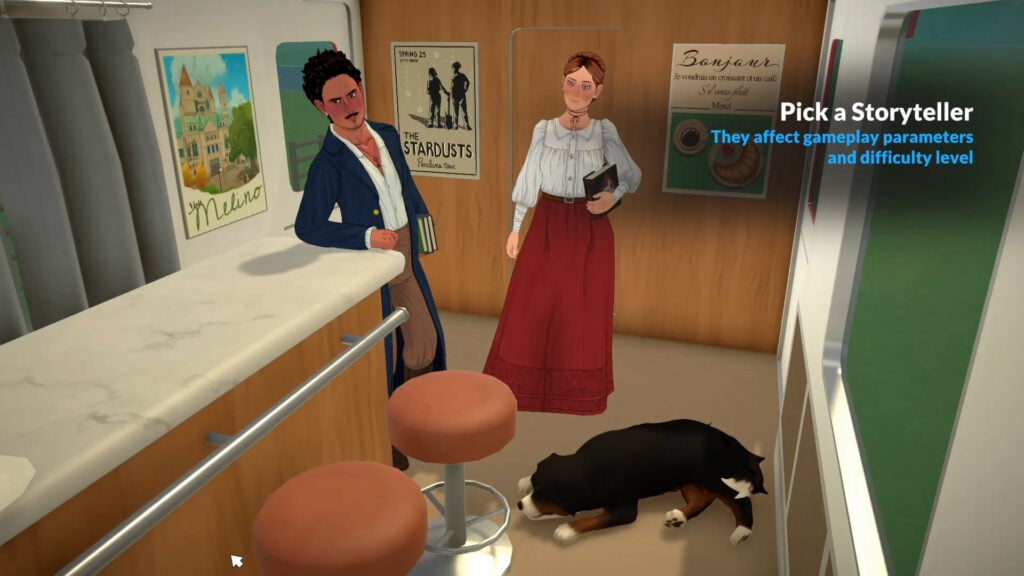
Each storyteller has different perks and difficulty levels, and each can be customised further.
Heading Into Town
Looks like the train is going to break down after all! The train conductor will confess this to you, and you’ll get to choose your response (we can assume that as early access continues, it will become fixed, so you can leave down to explore new areas and cities).
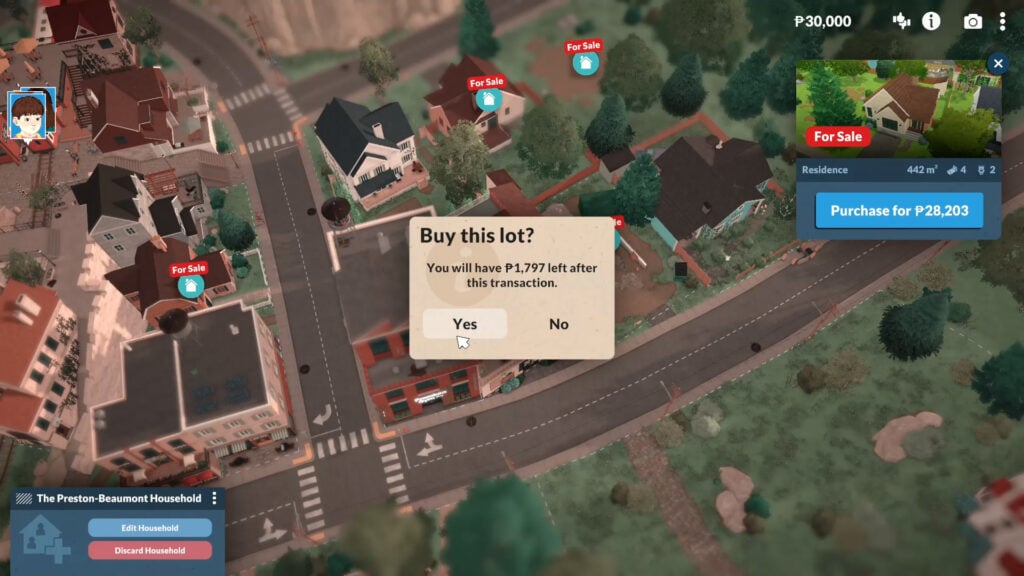
You will then finish your train journey into town and browse the town map for a new home in Melino, including plenty of empty lots if you want to jump straight into building.
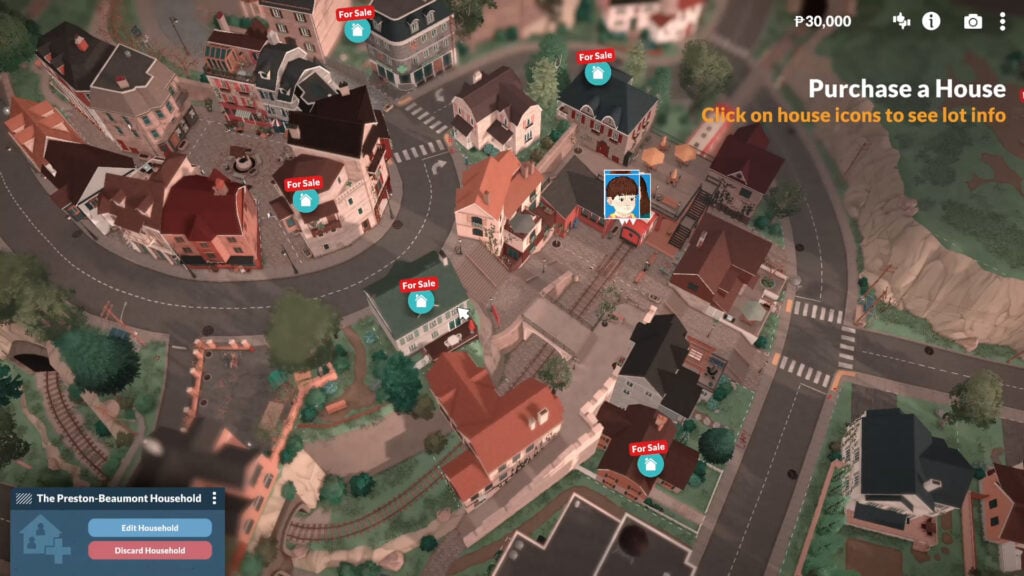
Starting Goals
Now you’re all settled into town, your Parafolks will get their first goal: Settle Home.
Designed to get you acquainted with the different systems in the game, to pass this goal you will need to:
- Find a job
- Place one decor item in your home
- Cook a meal
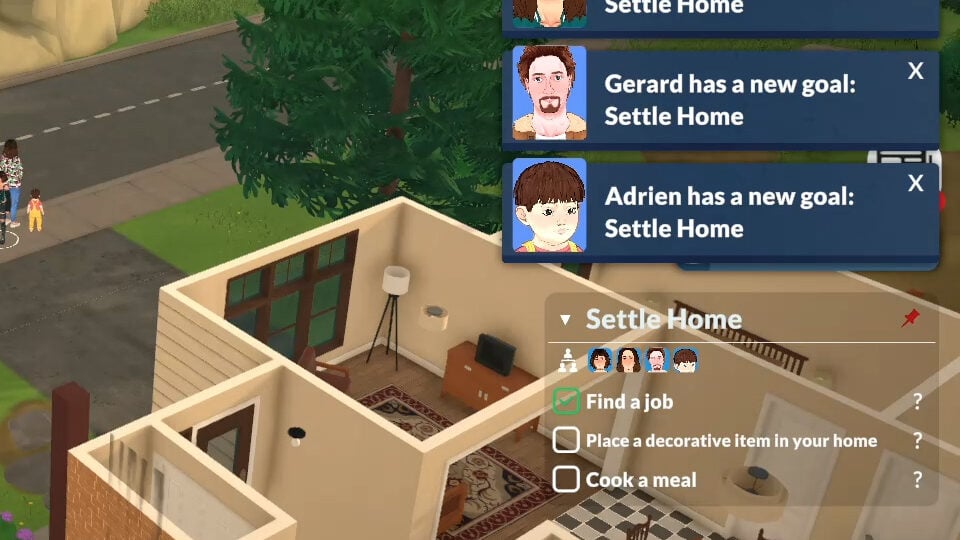
An important thing to note is that the goal is for the entire household, as long as one Para completes each goal it will count for everyone.
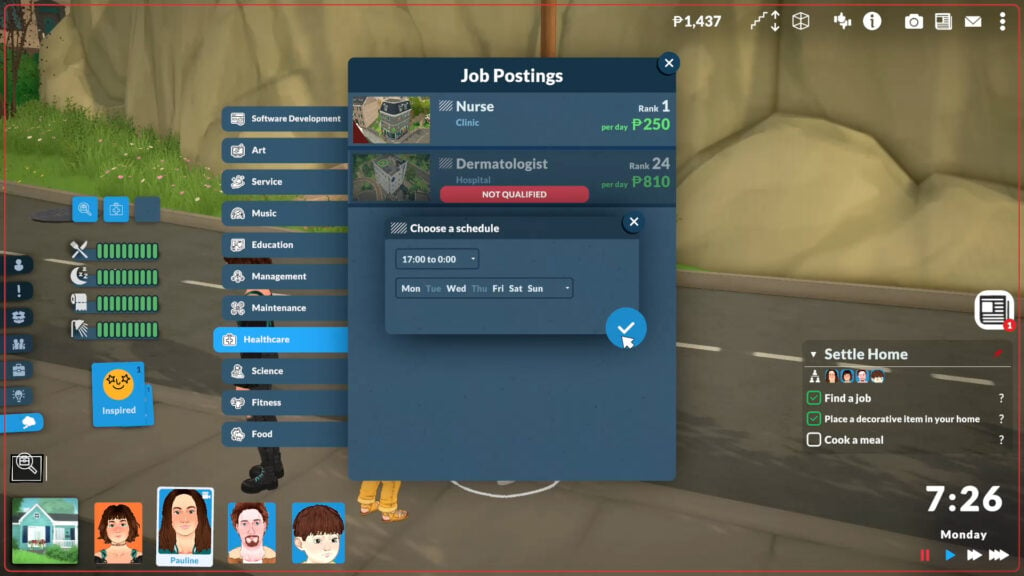
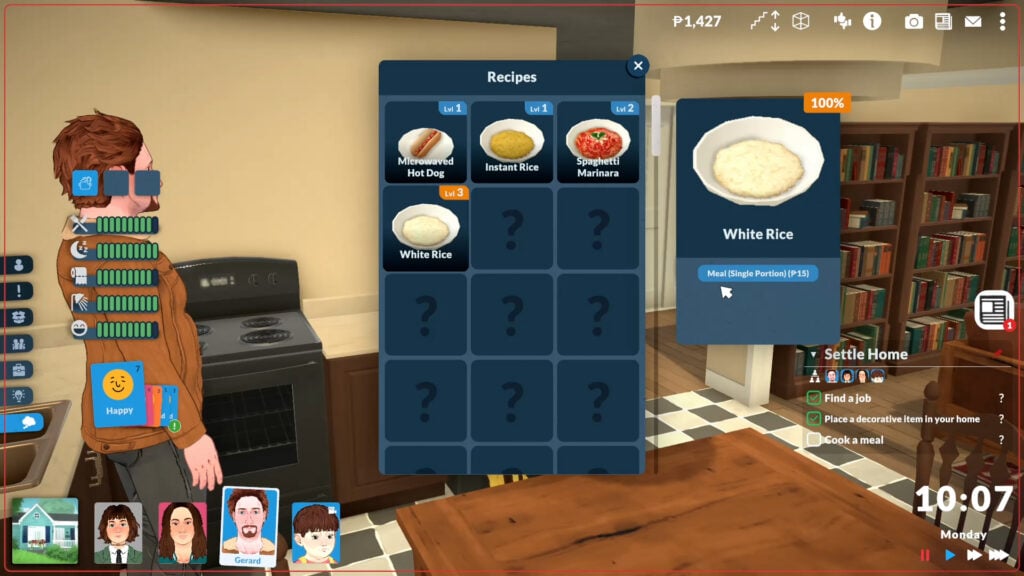
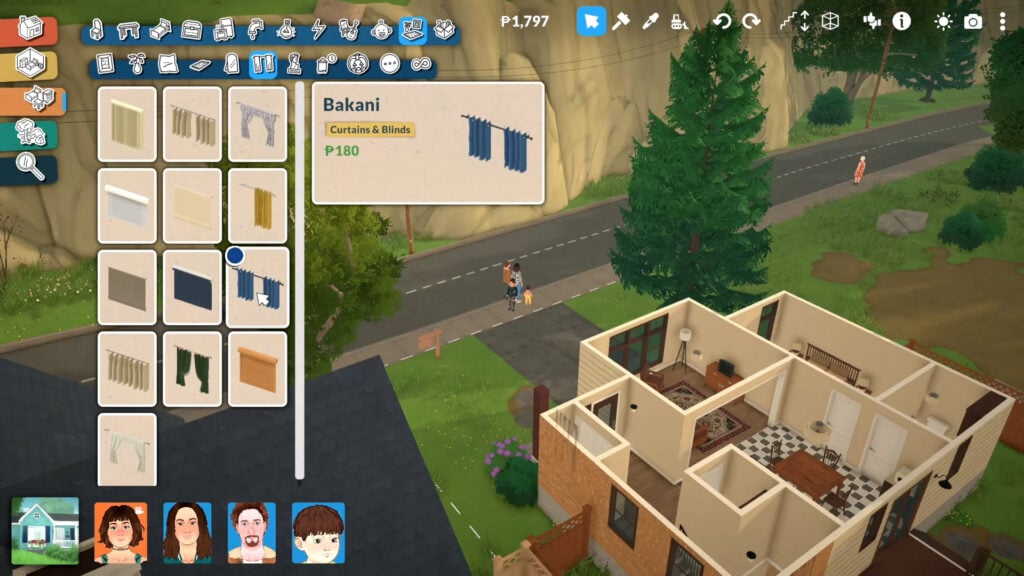
By now having completed the Paralives tutorial, you should be fully acquainted with the different controls and systems needed to master the game!
Customising Your Game Experience
Once you’re comfortable with the basic commands and controls, you can customise them all in the Paralives settings.
General settings
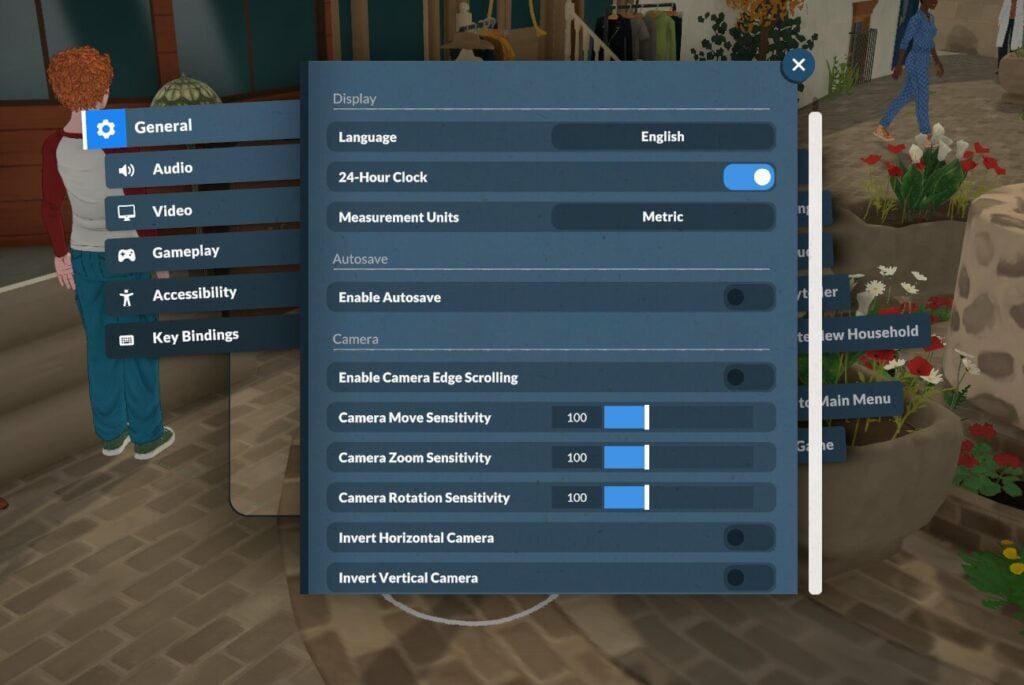

Autosave
Autosave can be enabled in this menu, and once enabled your game will automatically save every few minutes. You’ll know the game is autosaving when you see this icon in the bottom right corner of the screen.
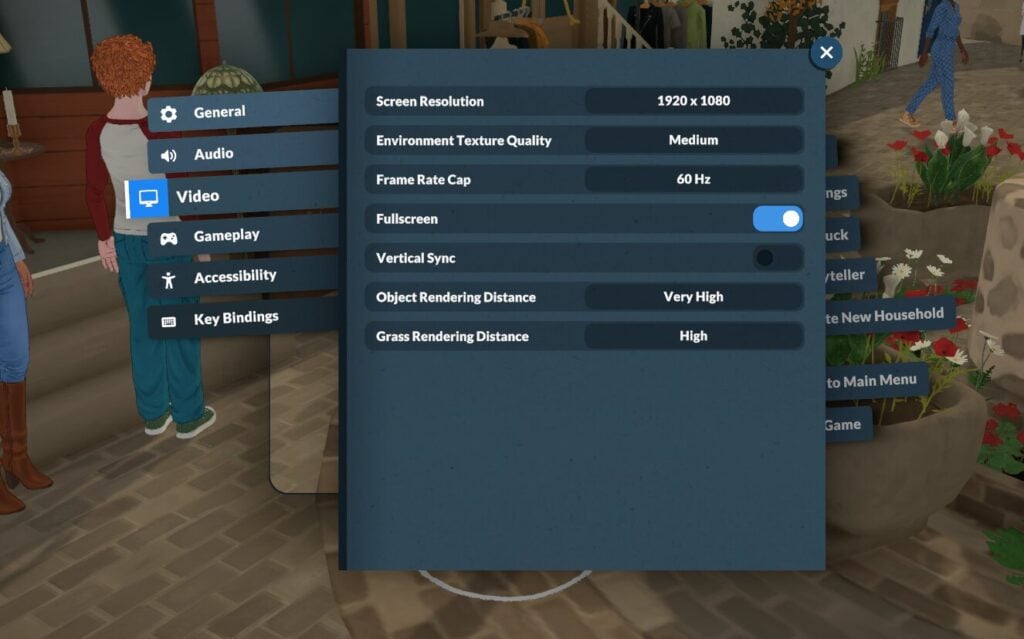
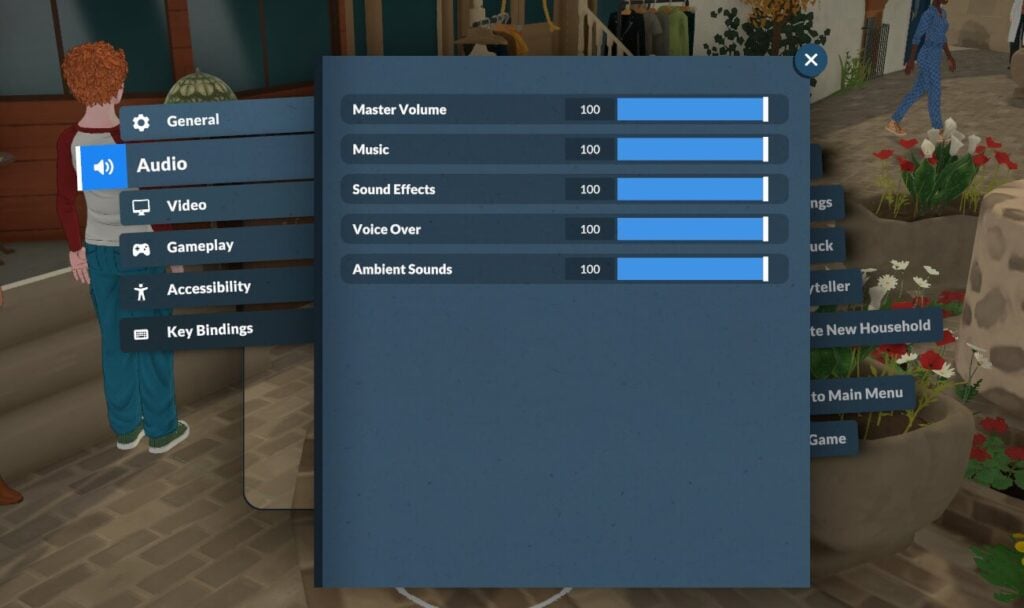
Video & Audio Settings
In this menu you can alter things like screen resolution and all audio settings.
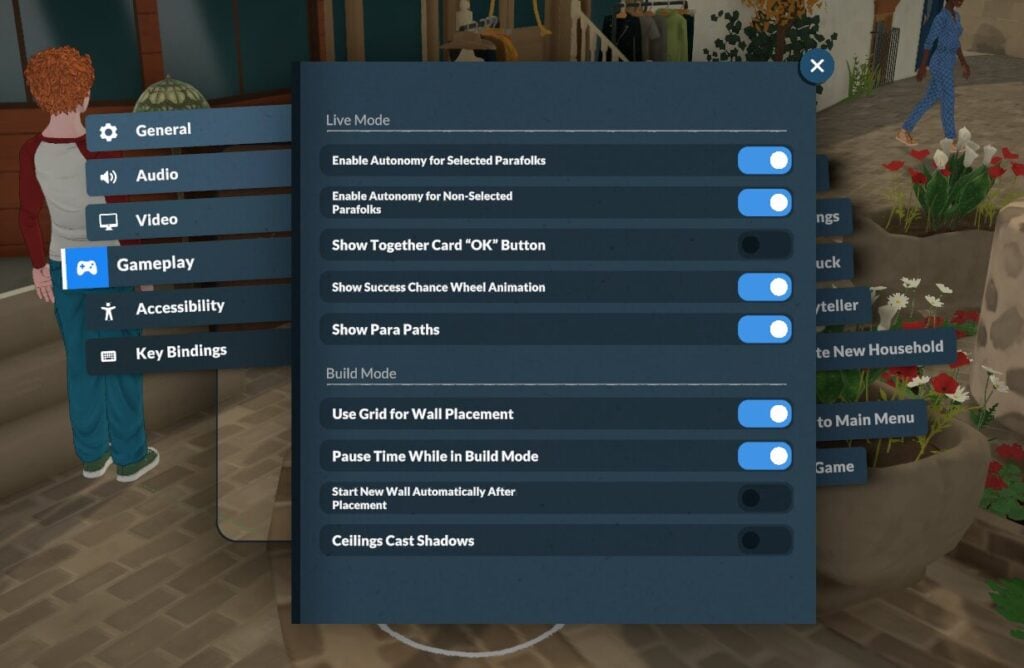
Gameplay Settings
Enabling Para Paths
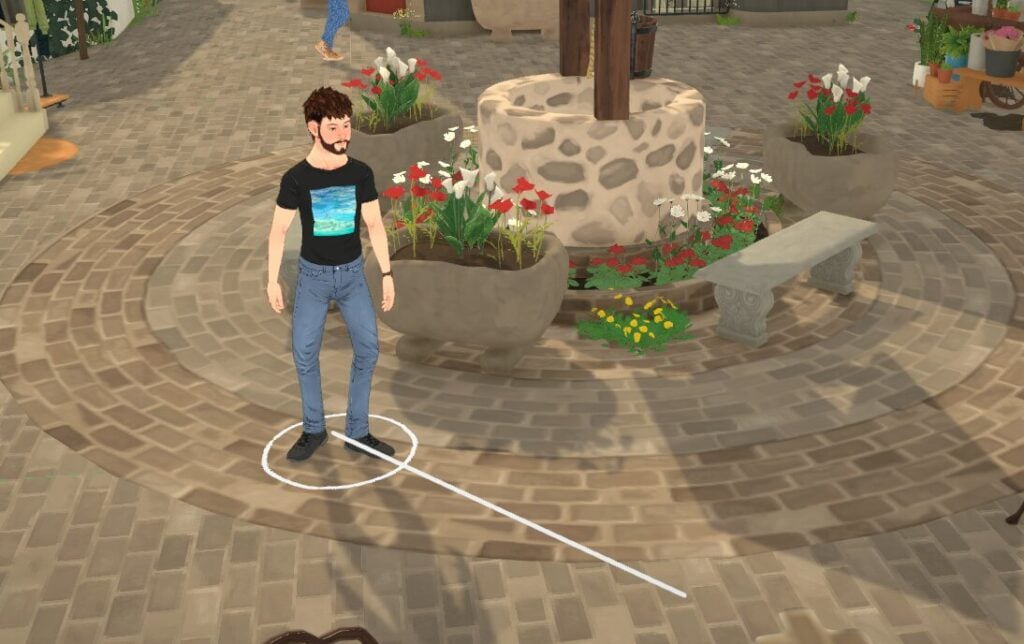
Enabling Para paths means you will be able to see where the Parafolk in your household are heading.
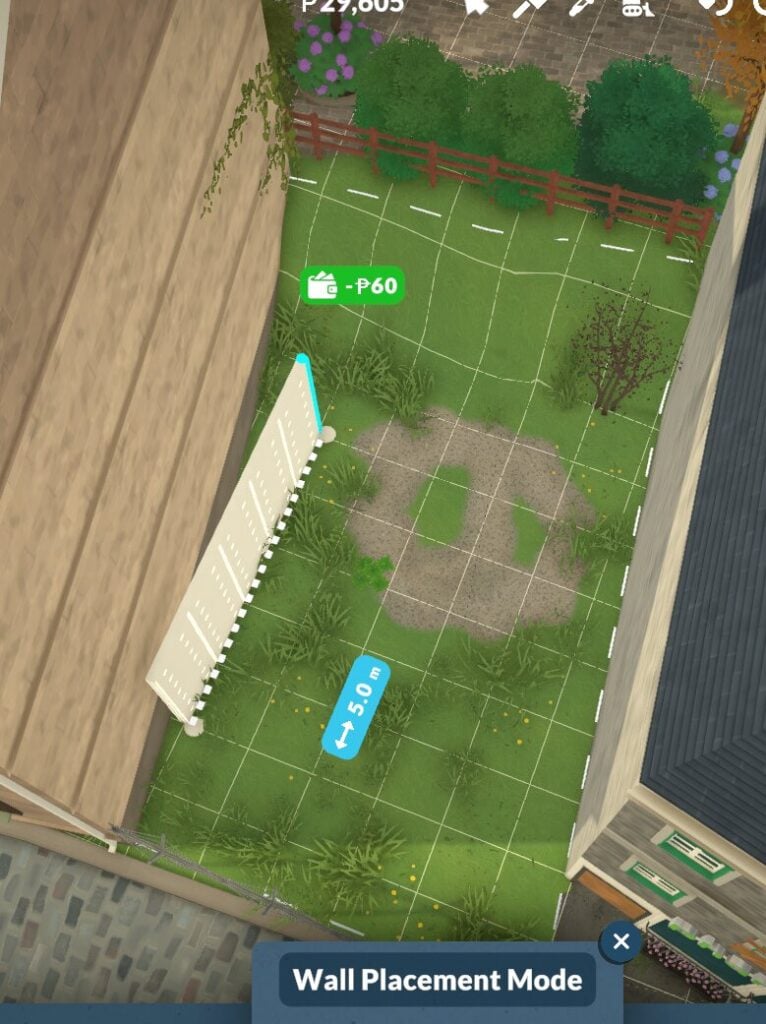
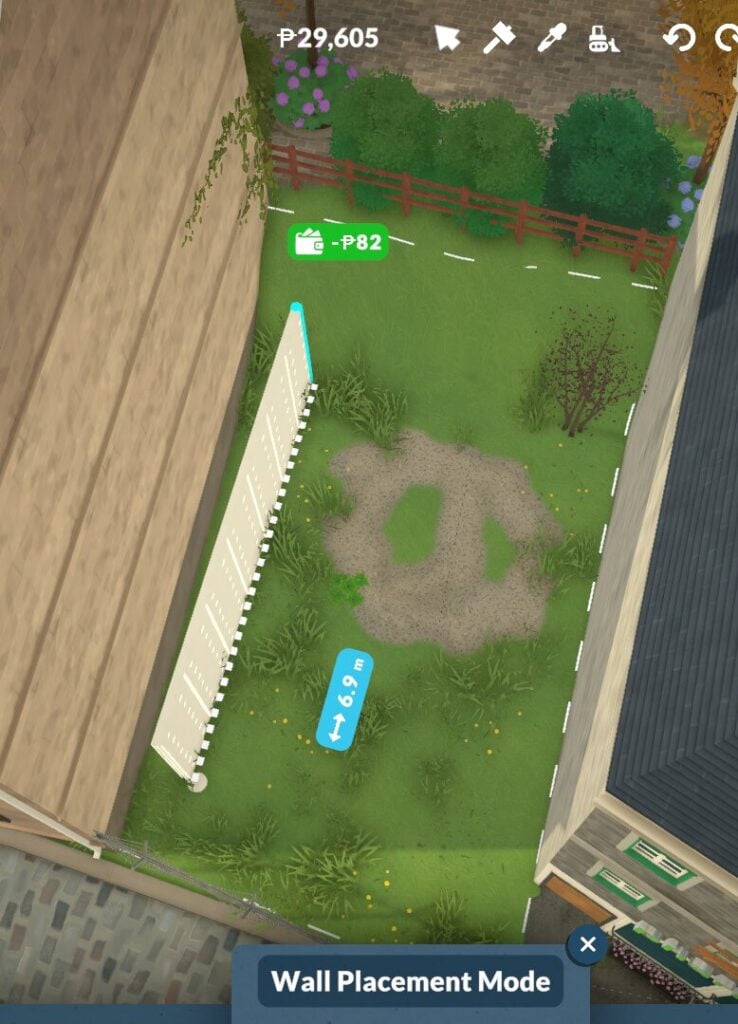
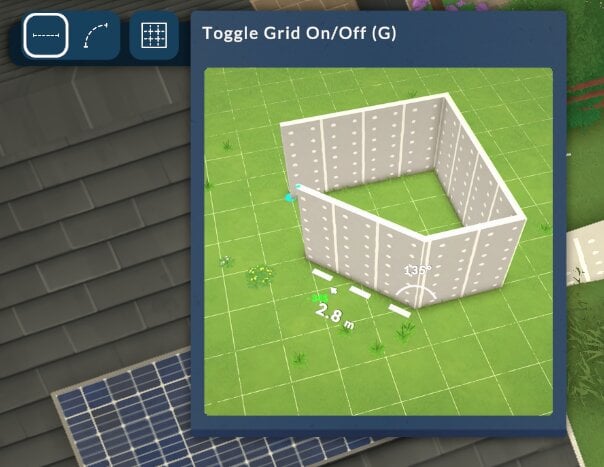
Grid Wall Placement Settings
Having the grid placement turned on can be done in the Paralives settings, and also in build mode itself whilst you are placing the walls.
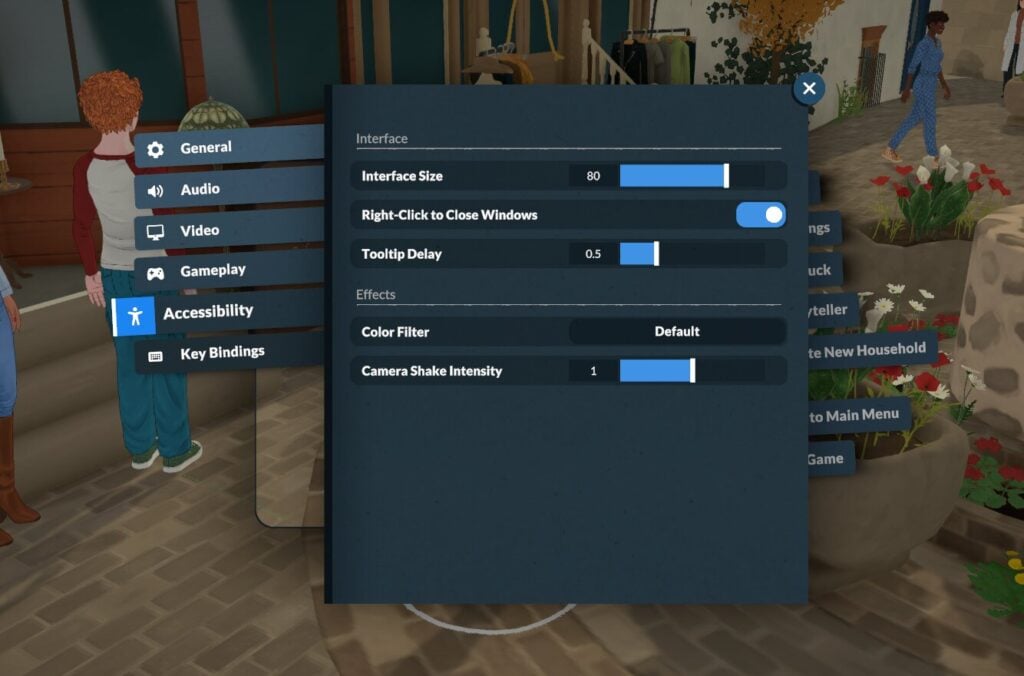
Accessibility Settings
There is a selection of accessibility options in the Paralives settings.
Colour Blindness & Filter Options
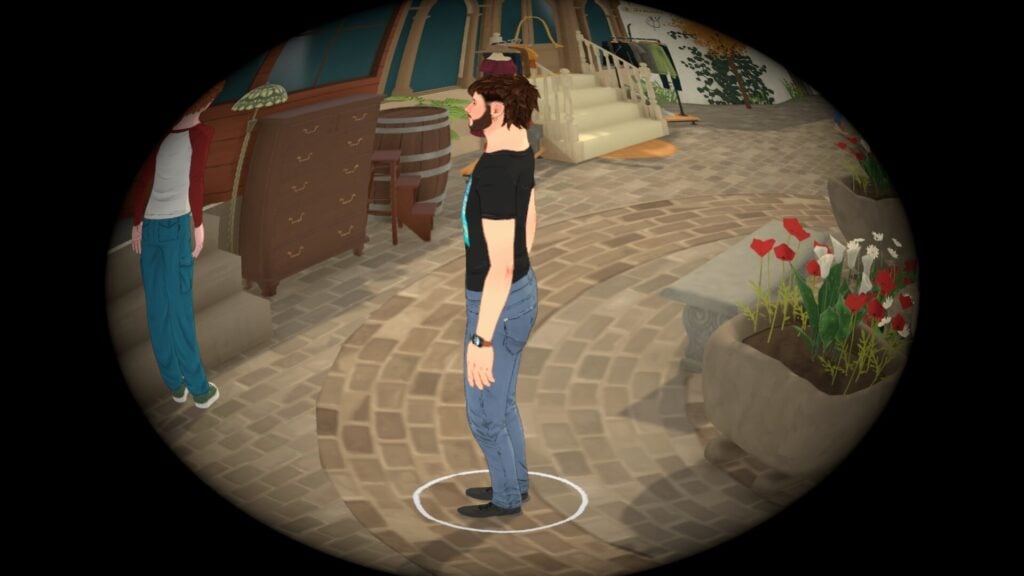
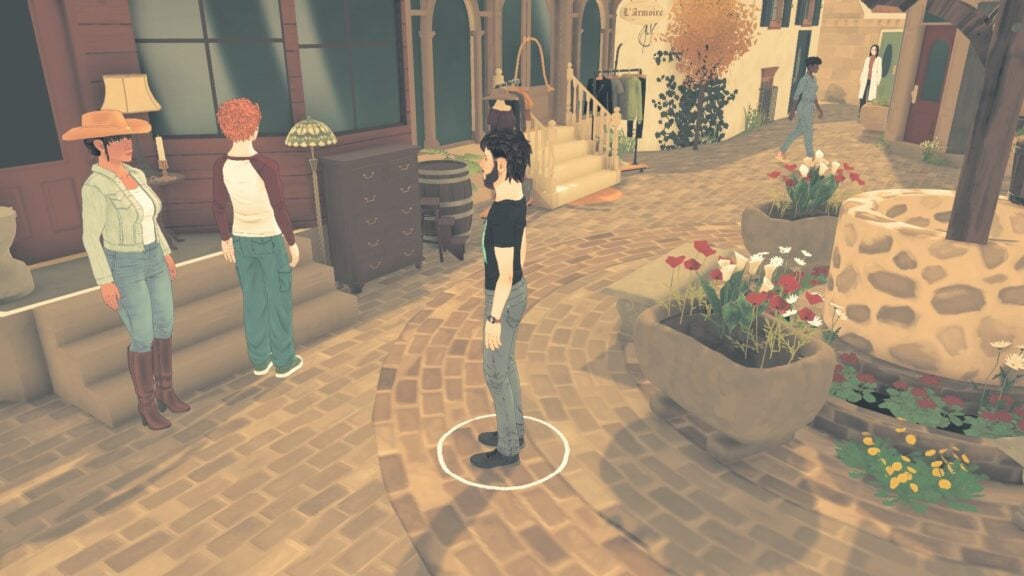
The colour filters offer a selection of six different filters designed to help people with colour blindness, however, these are just labelled 1-6 and don’t describe what settings they change or what kind of colour blindness it is designed to help until you click on it.
Here are all of the different filters for you to see before you load the game.
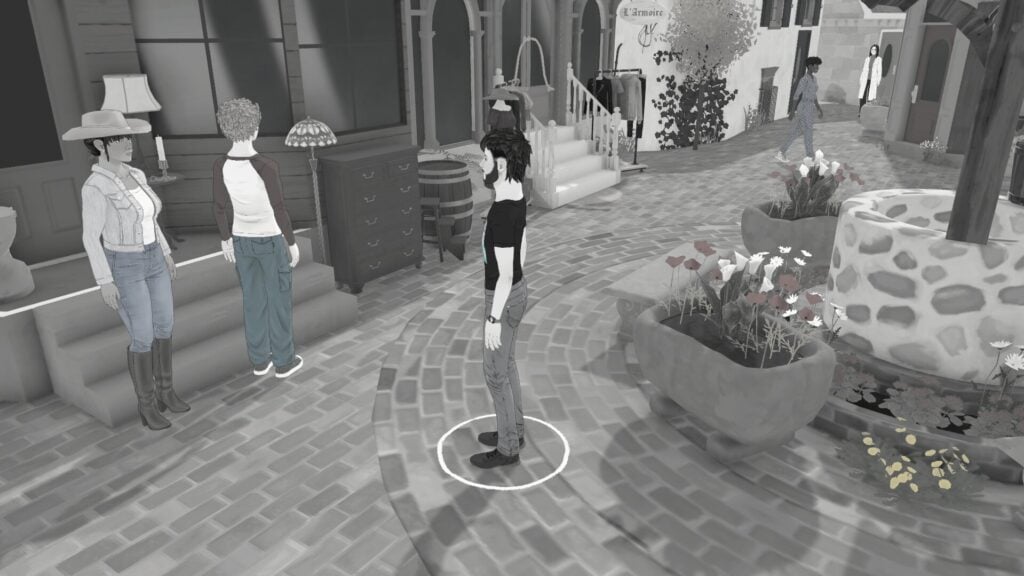
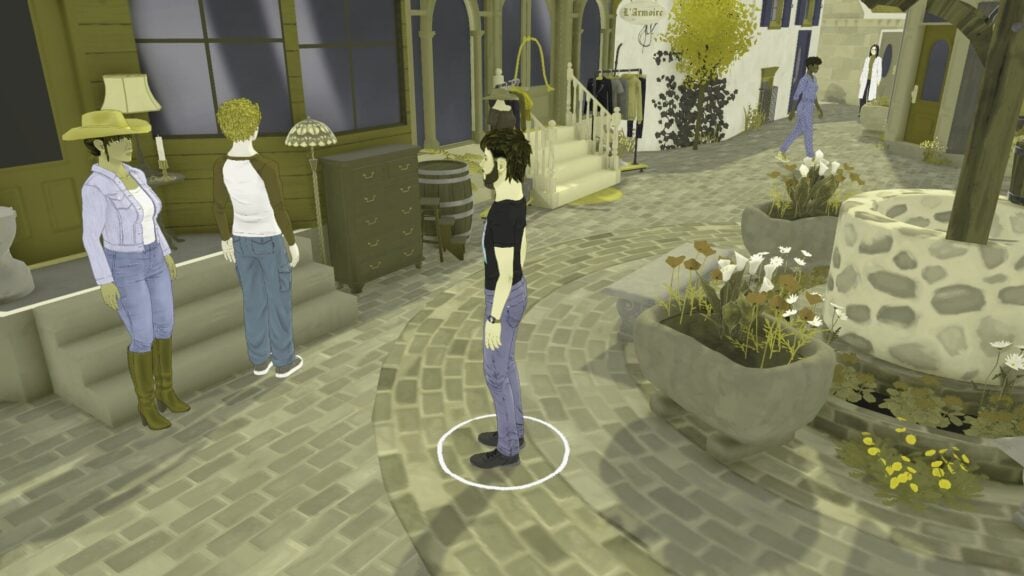
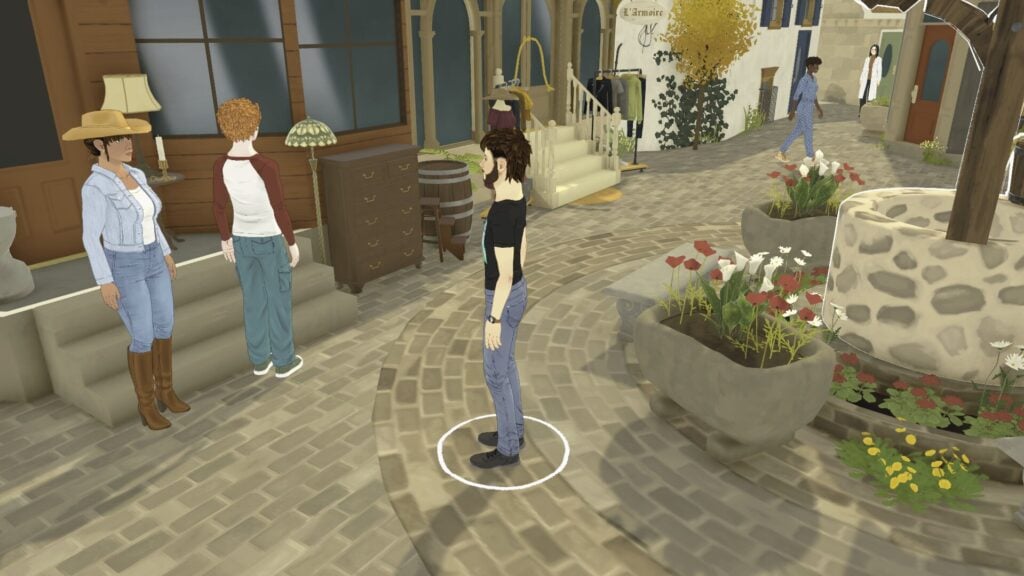
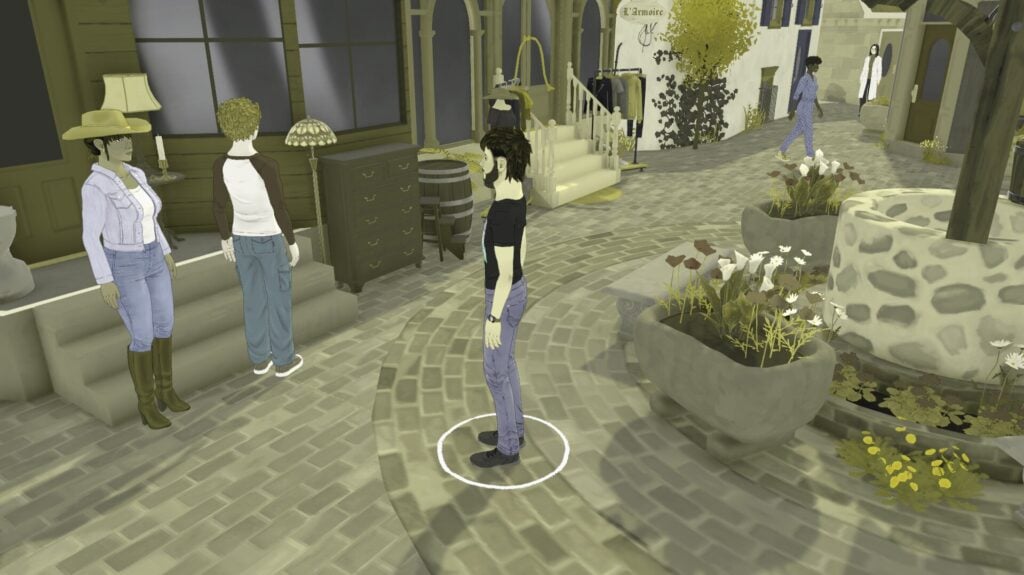
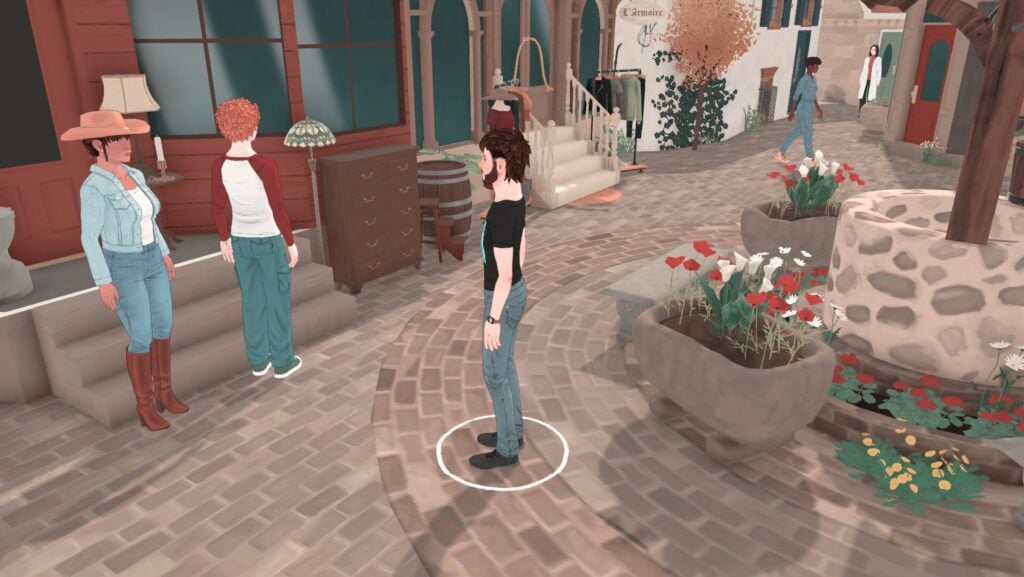
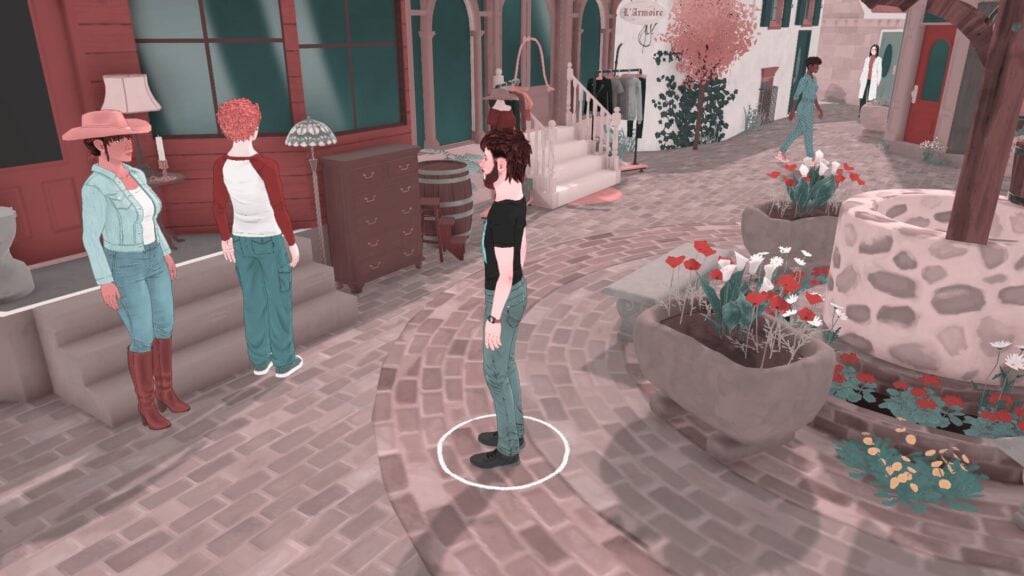
Something to note is that at the time of writing this, whilst you can change these settings in the menu as soon as you open the game, they don’t show on the home screen, so you won’t see what they look like until you start actually playing.
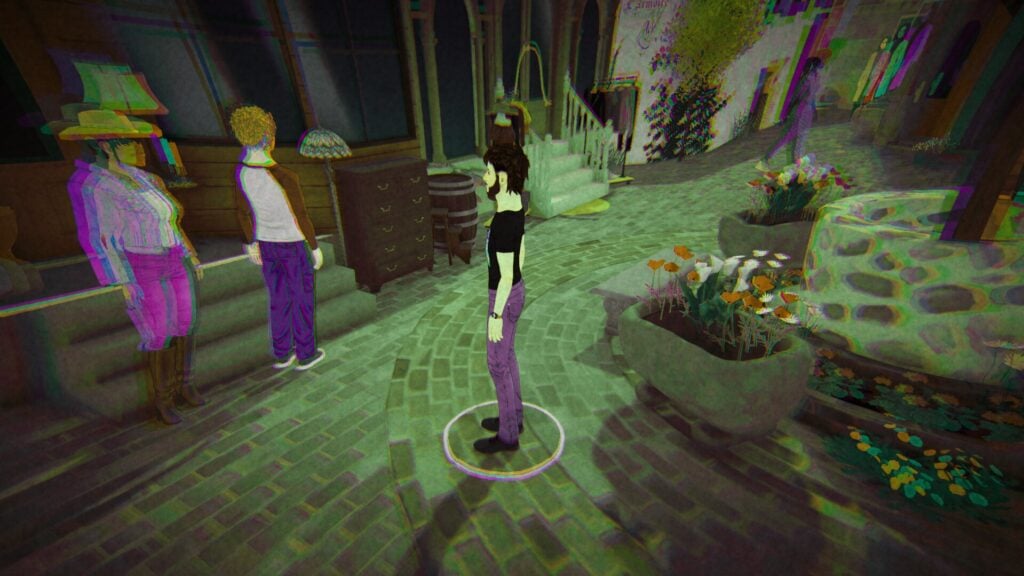
There are also a few fun filter options, like these ones.
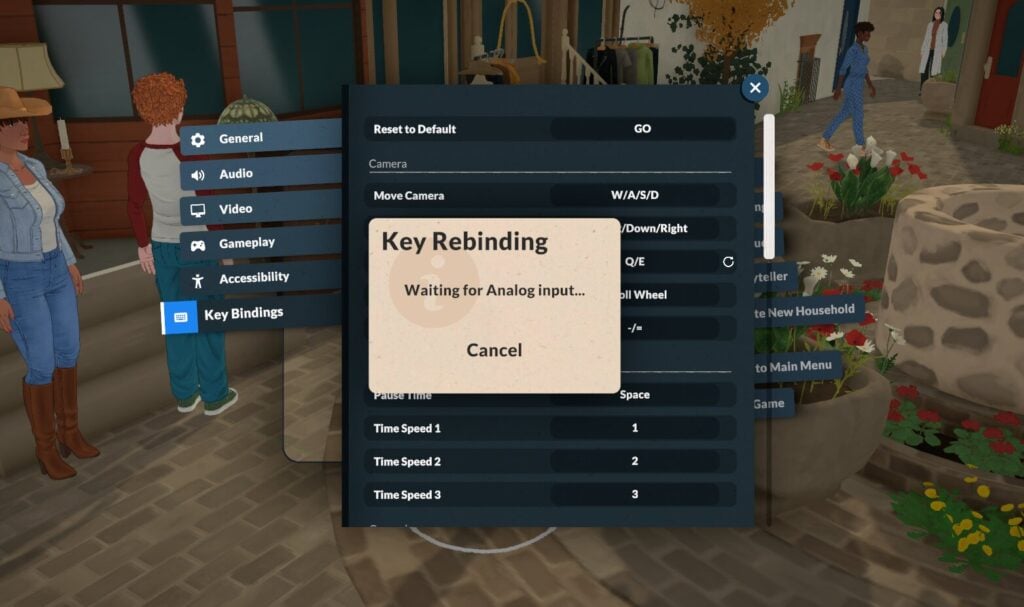
Changing Key Bindings in Paralives Settings
If you don’t like the default controls, you can change any of these settings in the Key Bindings menu.
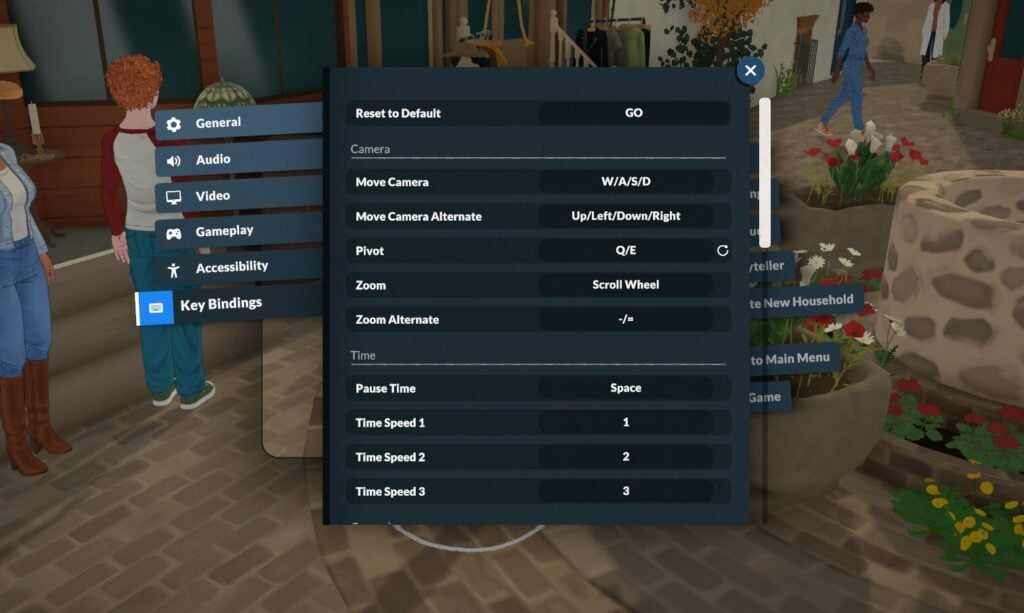
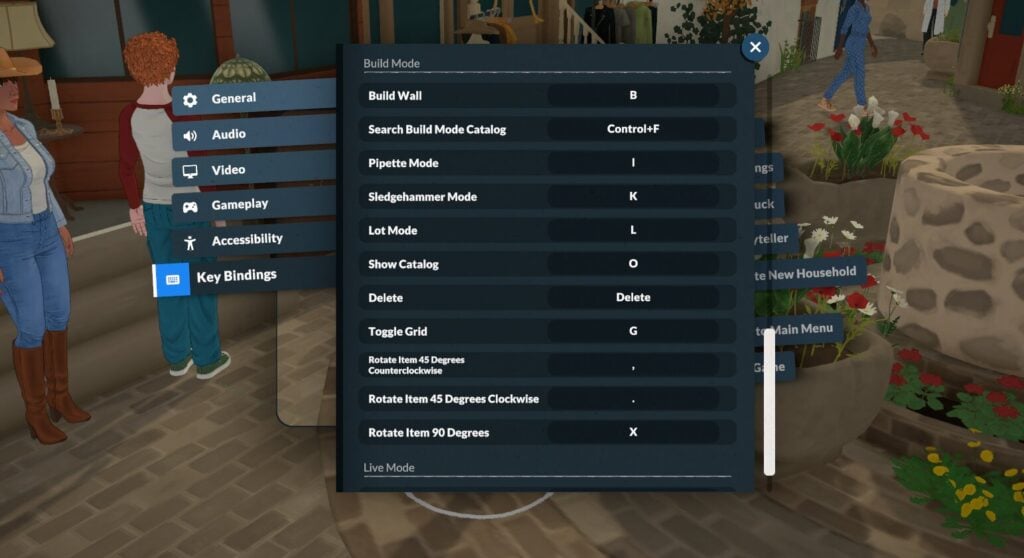
It is really simple to do, just click on the option you want to change and choose a new key.
What do you think of the Paralives tutorial? Is this a good way to teach game mechanics rather than pop-up lessons? Let us know below.