

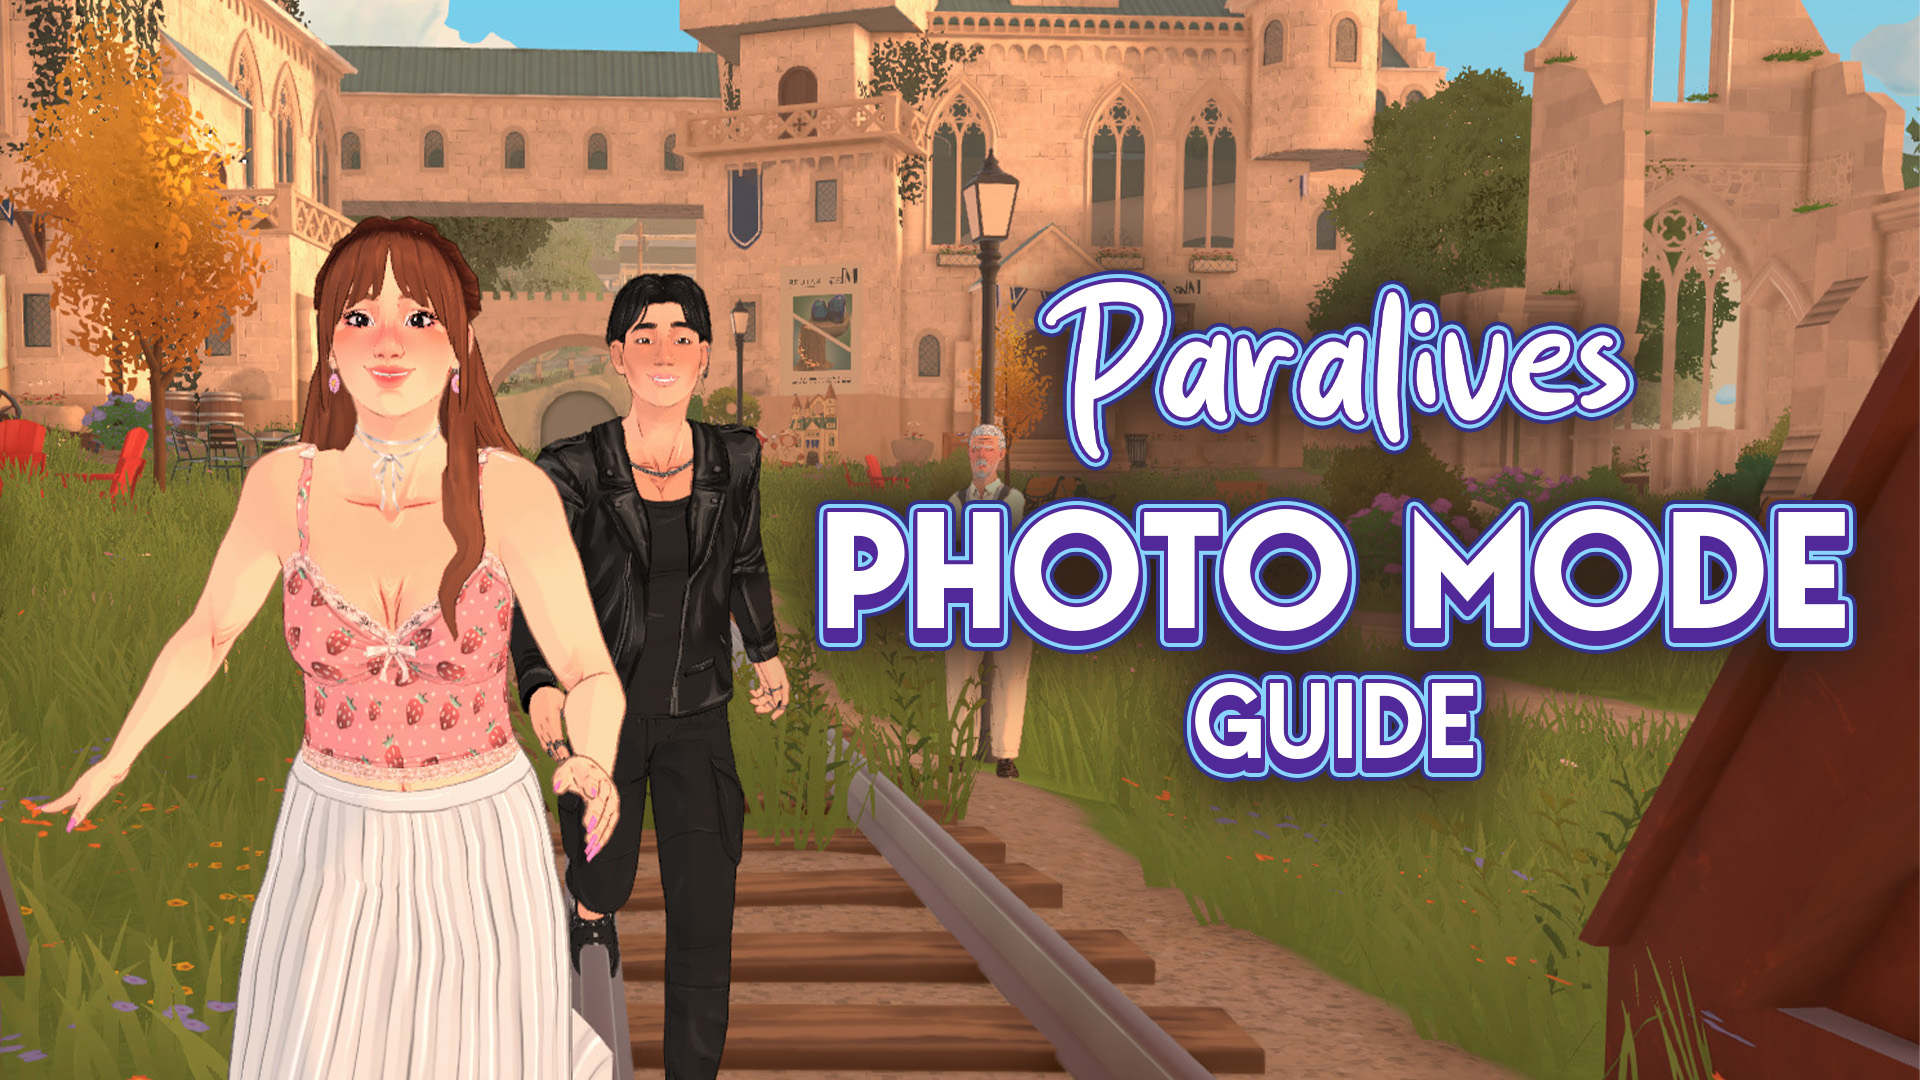
The ability to capture in-game screenshots to remember the best moments of your gameplay is a very important mechanic to have n life simulation games. Paralives has an exclusive mode dedicated entirely to this, allowing you not only to take in-game screenshots but also to craft the scene and let your imagination run free.
Let's take a look at the Paralives Photo Mode!
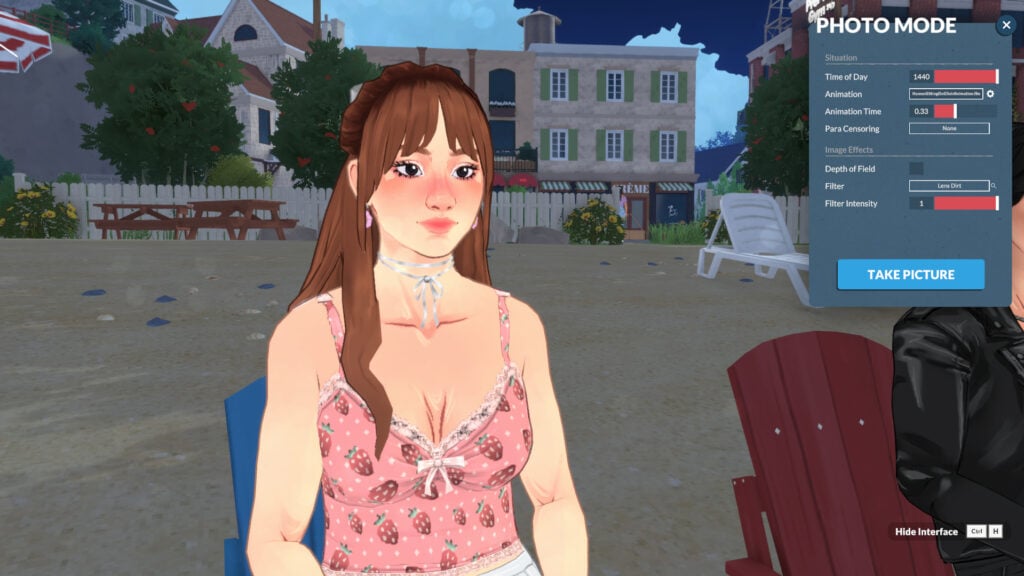
Table of Contents
What is Photo Mode?
Photo mode does exactly what it sounds like: it helps you take better in-game pictures. While in photo mode, time stops, and you can freely move your Paras, apply filters, select poses, set the time of day, and much more!
How to access the Photo Mode in Paralives
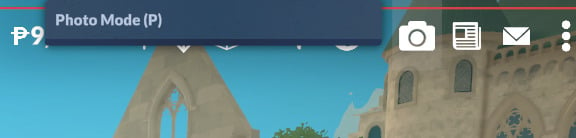
Using photo mode is pretty simple. Photo mode is already integrated into the game, and you can open it with the camera icon at the top of the screen, press the P key, or rebind it to any key you prefer (more on that in the next topic).
How to rebind keys for Photo Mode in Paralives
The first thing I adjusted in my game was the photo mode key binding. It's set to P by default, but I'm so accustomed to using P to pause that I had to remap it. Luckily, the devs considered this, and rebinding is simple.
When in live mode, open the "…" (Options Menu) and click on Settings:
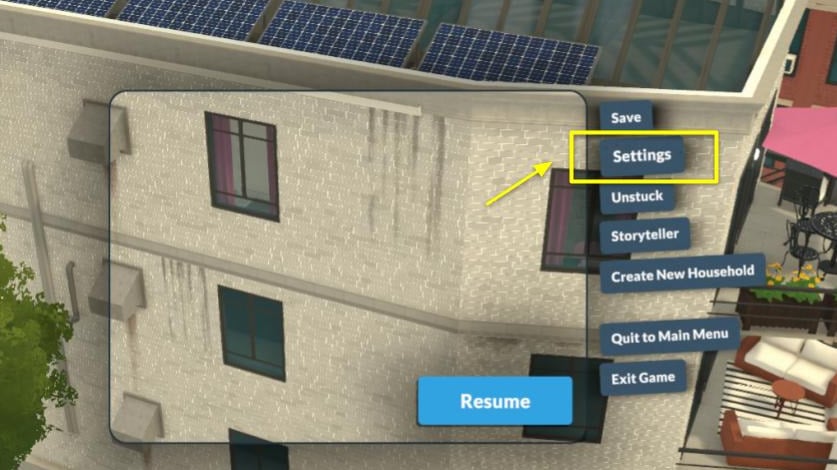
Then go to the "Key Bindings" tab and look for "Photo Mode." Click on the current key binding, and a pop-up saying "Key Rebinding" will appear. You can enter whatever key you want, just be careful not to assign the same key to multiple functions.
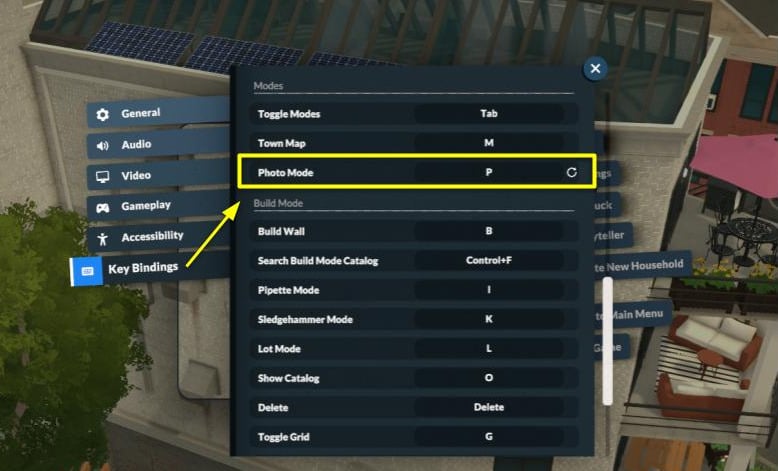
And that's it!
Key Features of Paralives Photo Mode
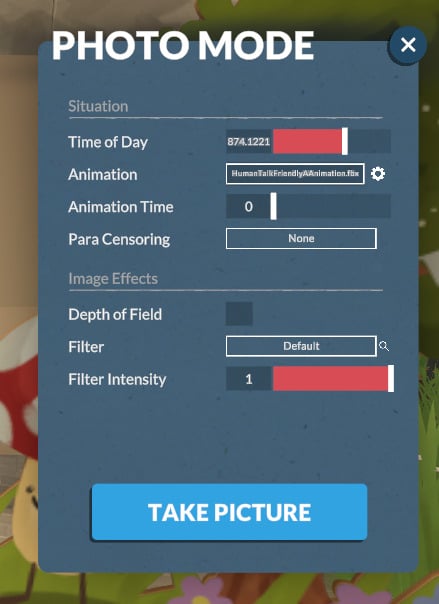
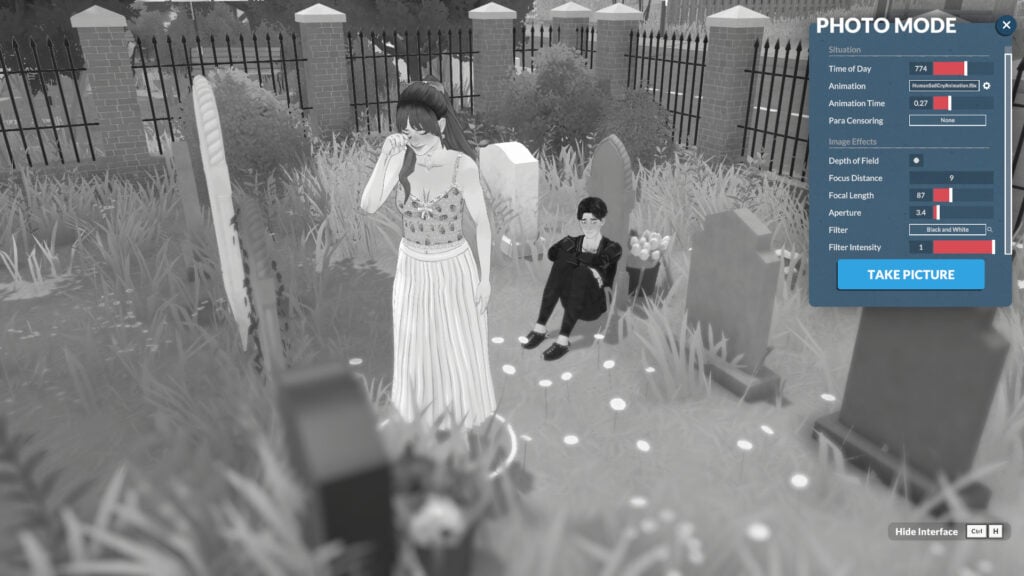
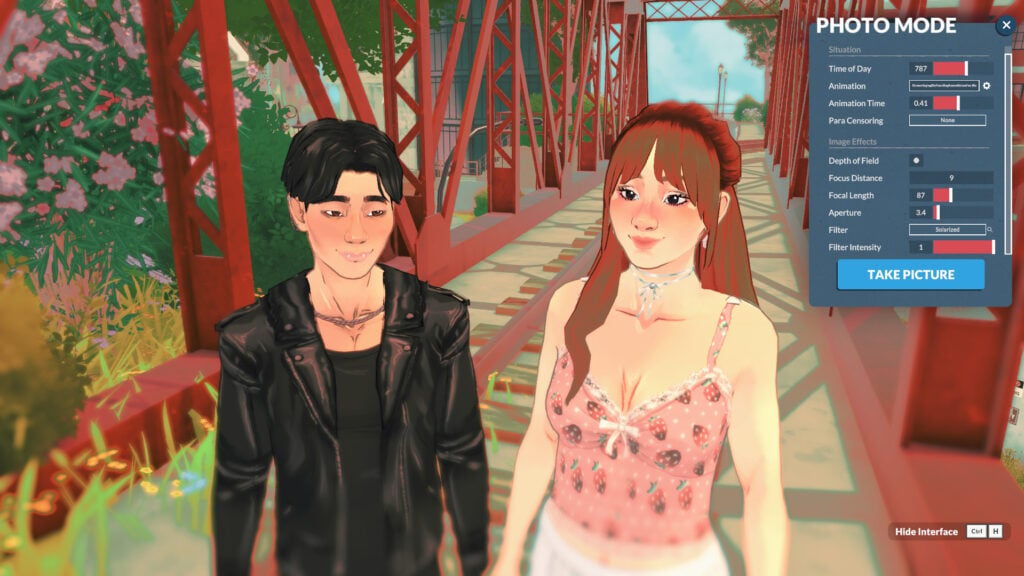
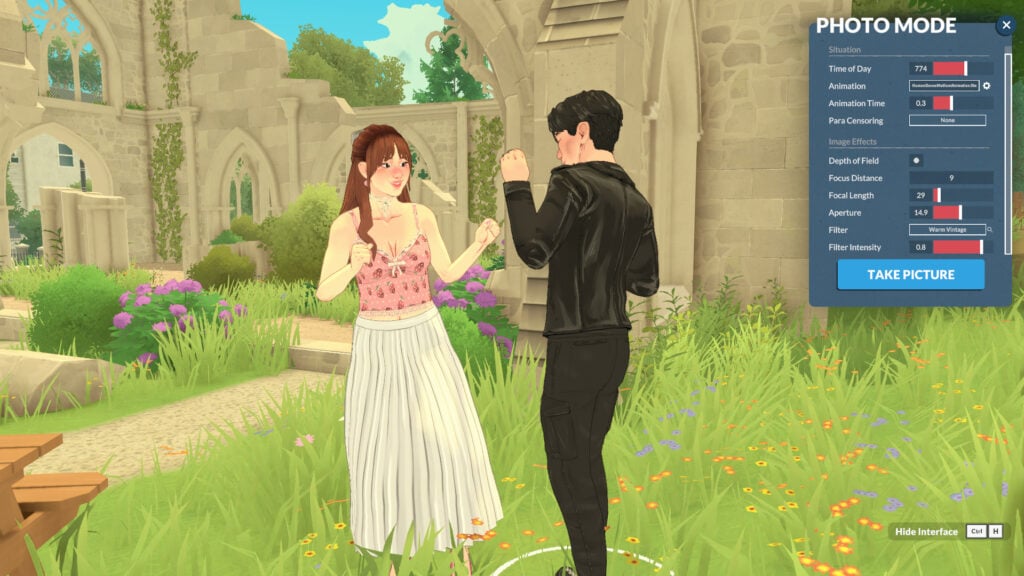
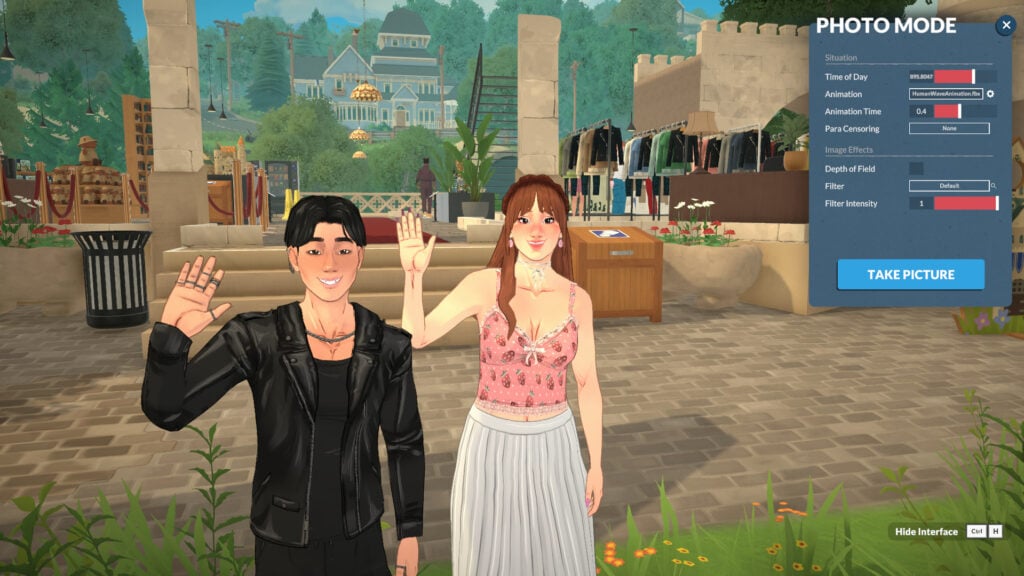
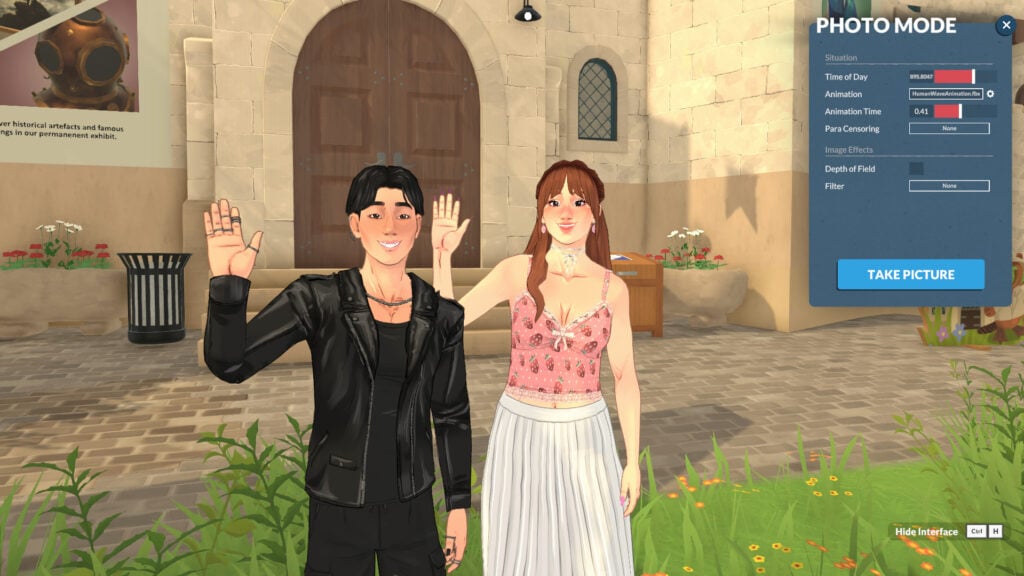
Photo Mode's key features are divided into two categories: "Situation" and "Image Effects". "Situation" lets you adjust: Time of Day, Animation, Animation Time, and Para Censoring. "Image Effects" gives you control over Depth of Field, Filter Type, and Filter Intensity.
How to use Paralives Photo Mode
Using Paralives photo mode is very intuitive. In this section, we'll show you how each category in photo mode works.
Situation Category
When entering photo mode, you'll notice that the characters stop their animations and become static, with no expressions. This happens because photo mode resets their current animations to the first frame. But don't worry! You'll be able to adjust everything. In the Situation category, you'll be able to change the Time of Day, Animation, Animation time, and Para Censoring.
Time of Day
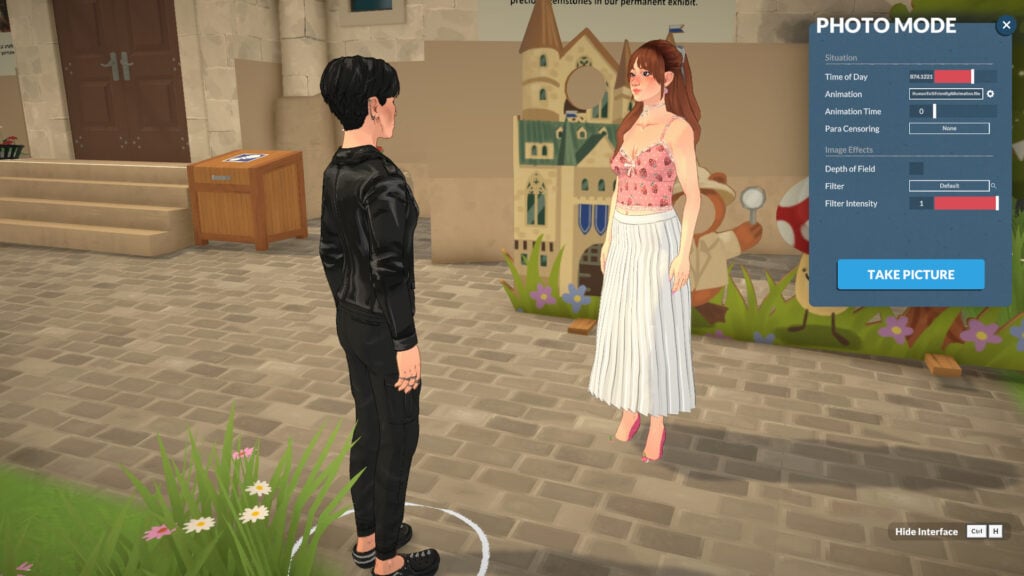
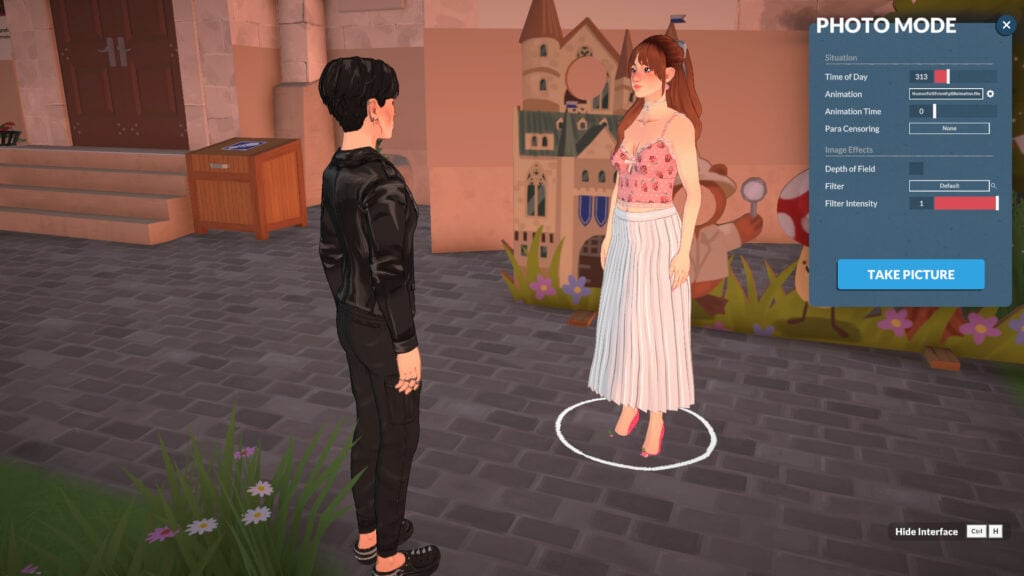
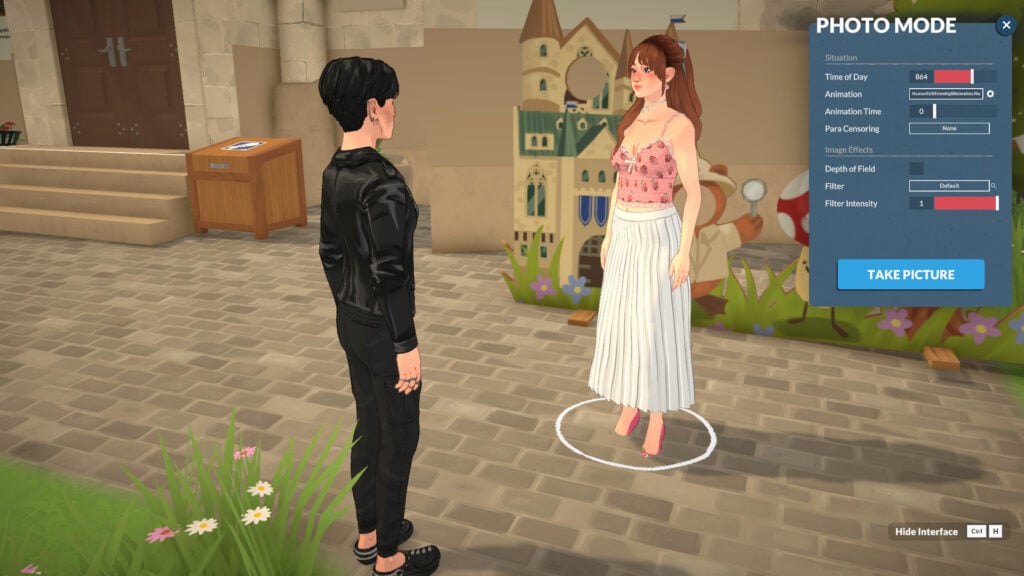
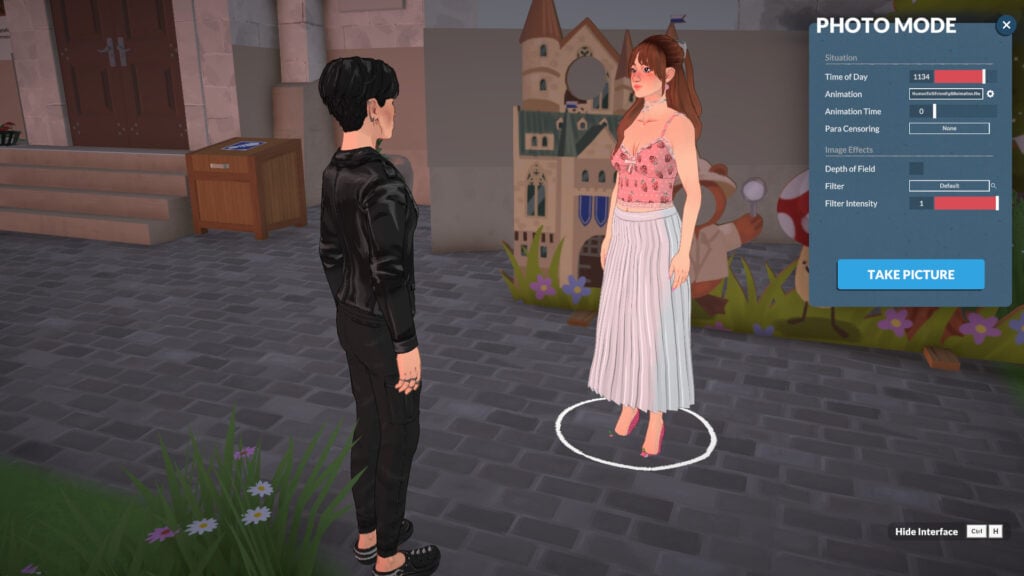
To start learning about Photo Mode, you can begin by adjusting the time of day you want the picture to be set in.
Animation
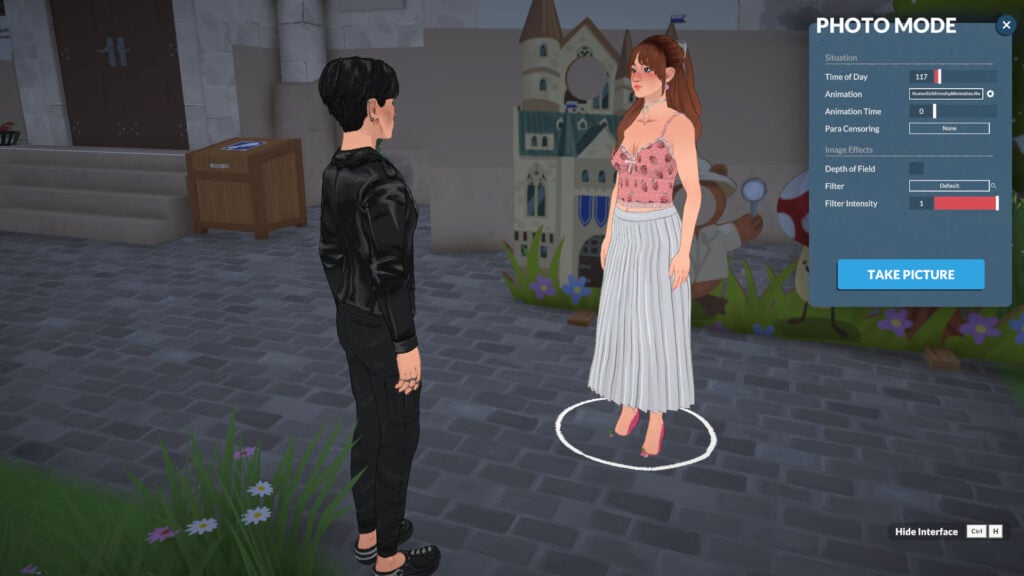
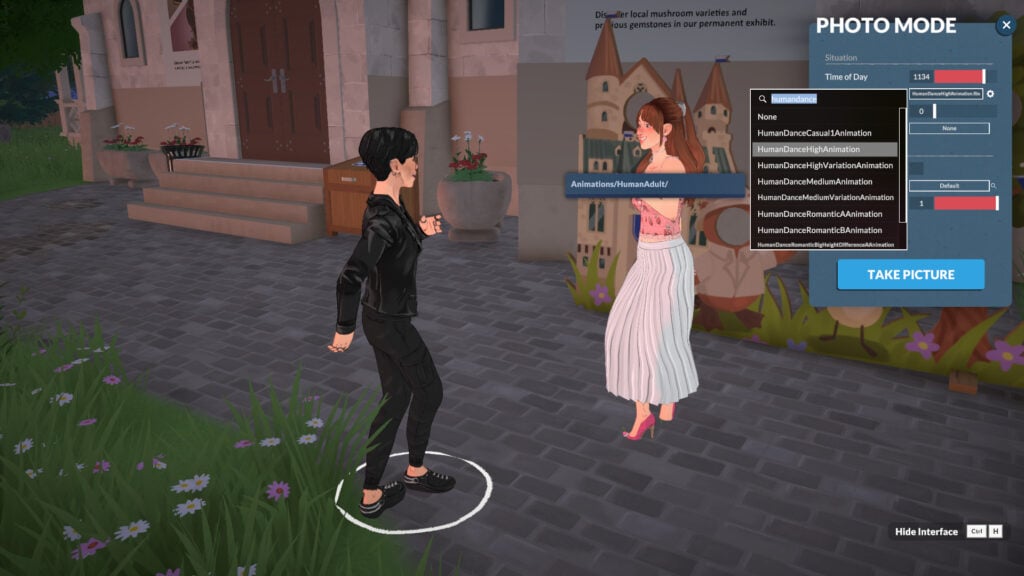
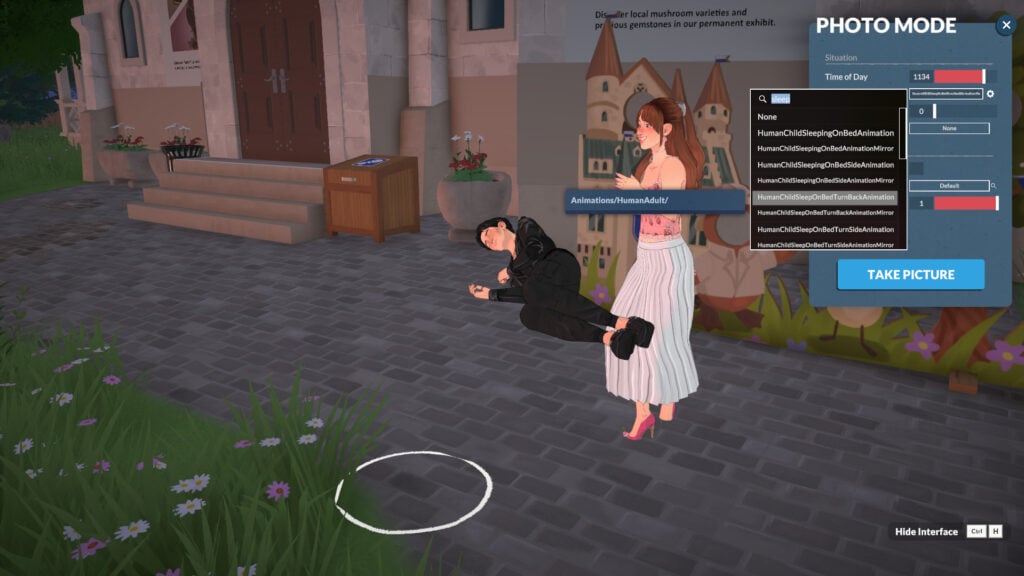
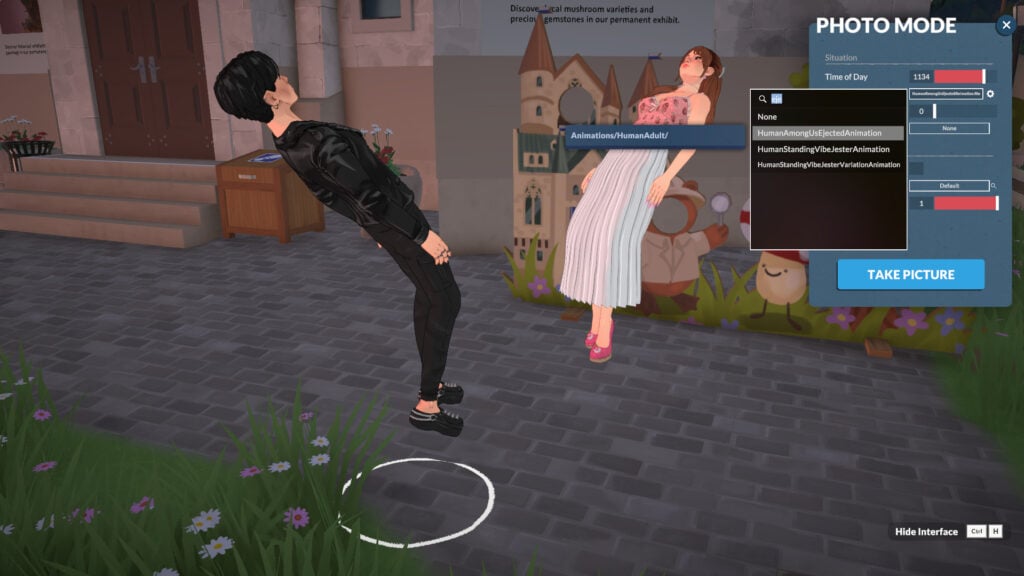
Select a character (by clicking on it) and choose an "Animation" for them. If you leave it unset, they'll continue with their current default animation. All the in-game animations are present, so you can choose any you want!
Changing your Parafolk's Location
You can adjust your Parafolk's location by clicking on them once. This way, you can drag them wherever you want to fit your picture!
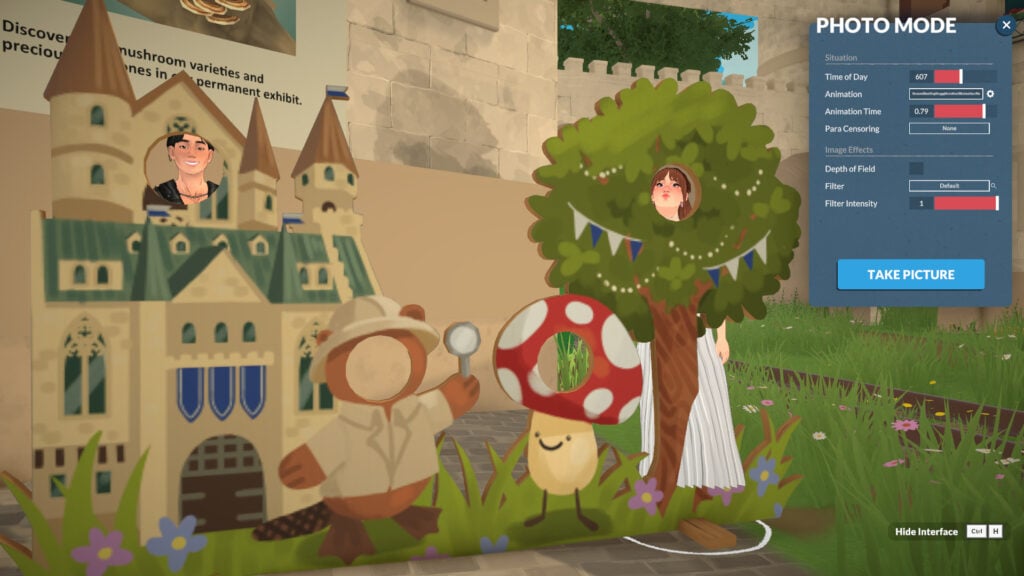
Animation Time
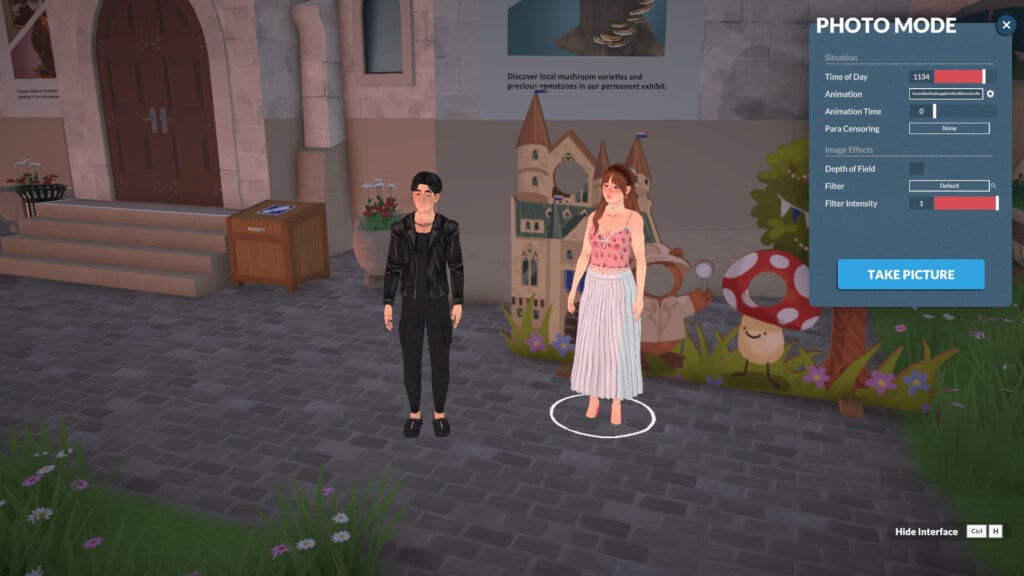
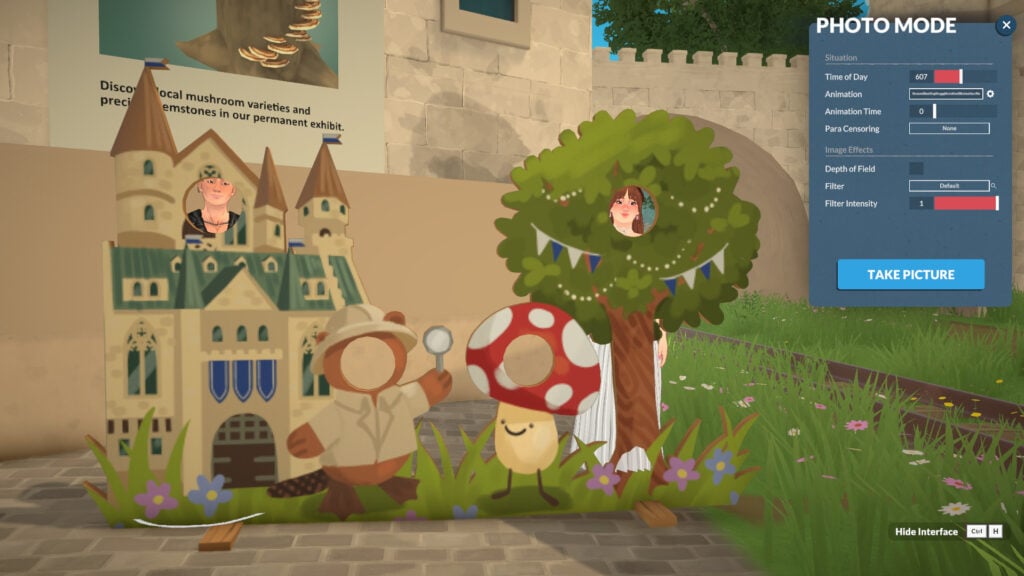
You can adjust the animation by changing the "Animation Time" in the photo mode menu. This allows you to take more control over your intended picture.
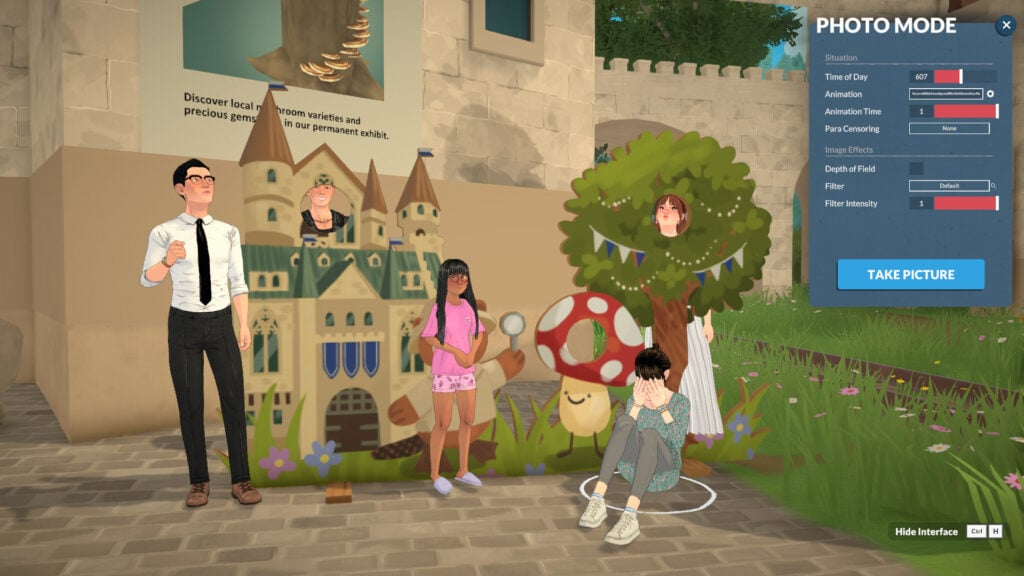
Bring more people in!
You can drag any Parafolk in the area into your picture and also choose any animation for them.
Para Censoring & Censoring Effects
To finish the "Situation" category, you can also select "Para Censoring" to introduce censoring into the screenshot. It works not only by pixelating but also by allowing you to select different types of stickers to censor your Parafolk. You can choose the censoring location in "Para Censoring" and the type of censoring in "Censoring Effects", which will appear after you select any "Para Censoring" option.
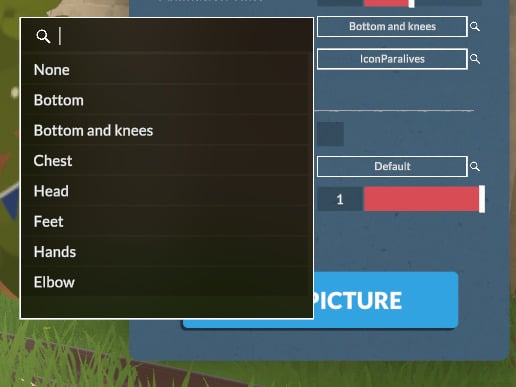
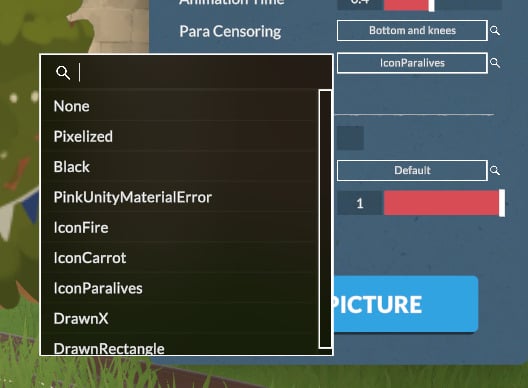
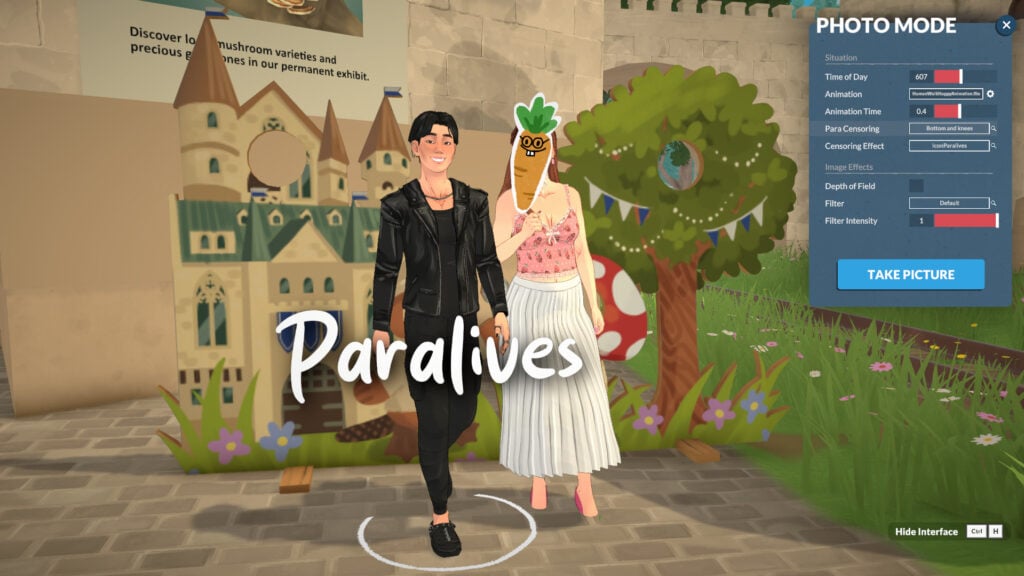
Image Effects Category
You will find much more to customize your photos with the Image Effects category, without needing external software. In the Image Effects category, you'll be able to adjust the Depth of Field, Filter, and Filter Intensity. Let's take a look!
Depth of Field
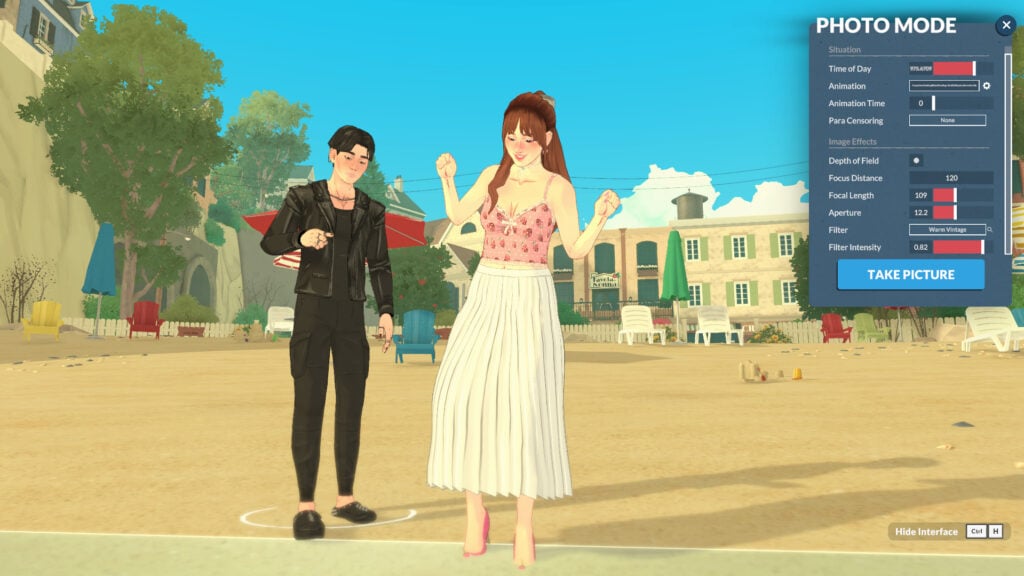
Under Image Effects, Depth of Field controls the sharpness range around your focus point. Once activated, you can fine-tune it with Focus Distance, Focal Length, and Aperture to get the perfect in-game shot with no external editing needed!
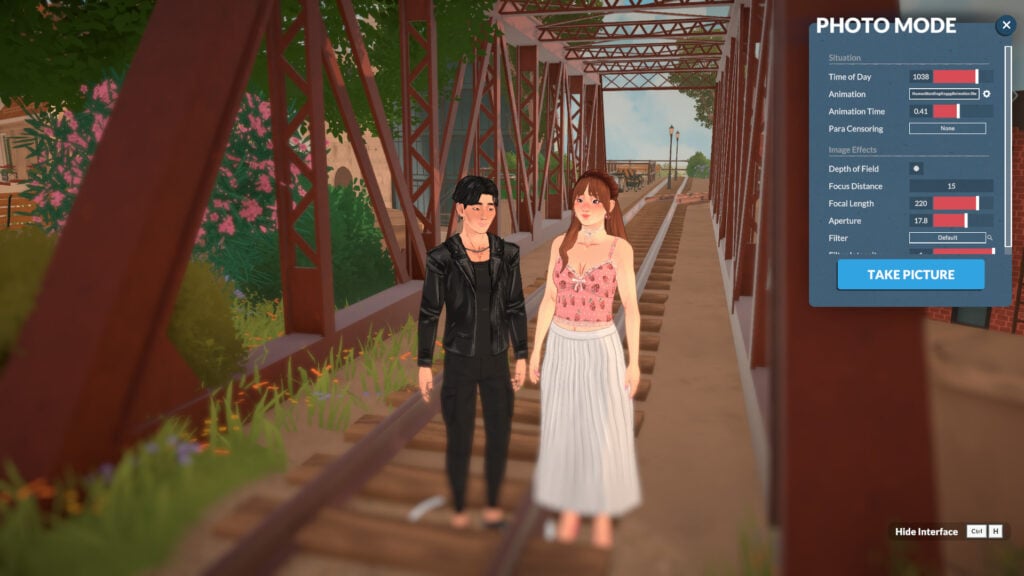
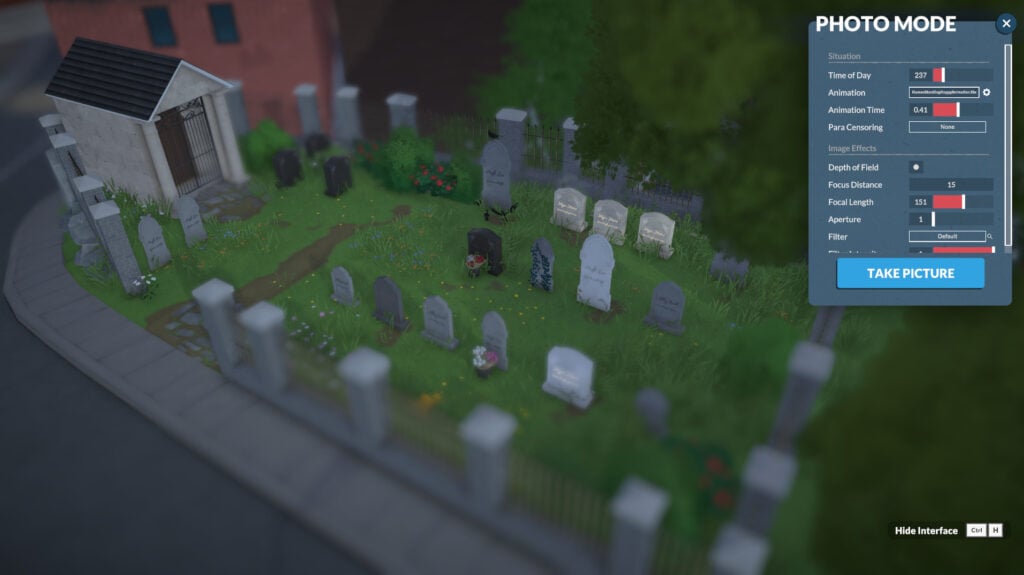
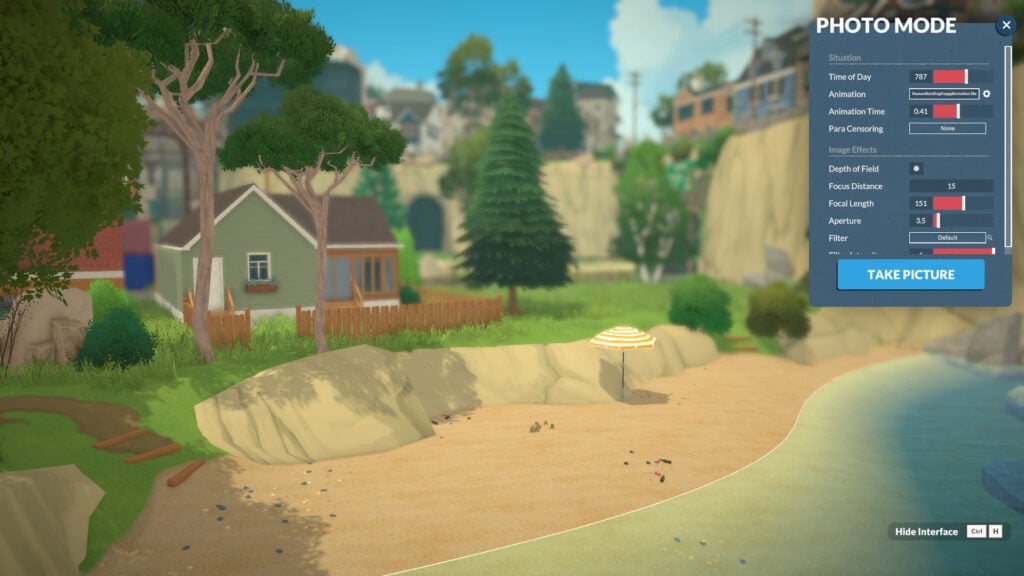
Filter & Filter Intensity
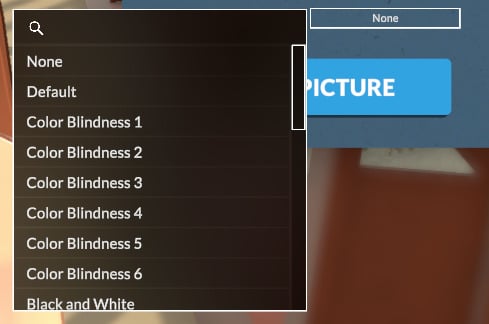
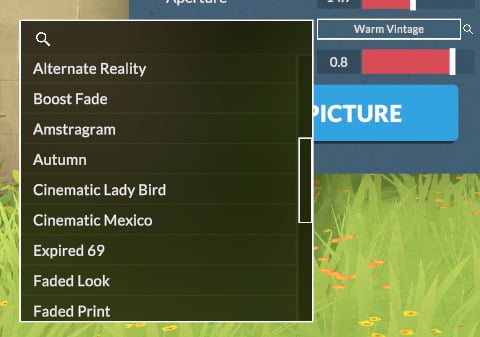
There are also many filters built into the game that you can use to enhance your storytelling.
How to locate Photo Mode pictures in your local files
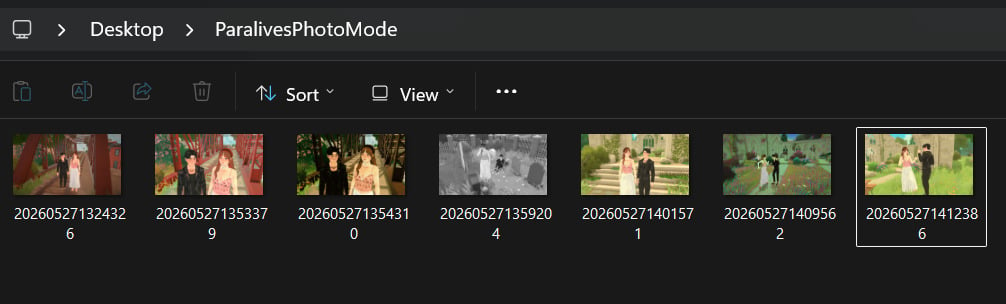
The photos you took with photo mode are for now being saved on your desktop in a folder named "ParalivesPhotoMode".
Other tips for taking in-game screenshots
Hide Interface
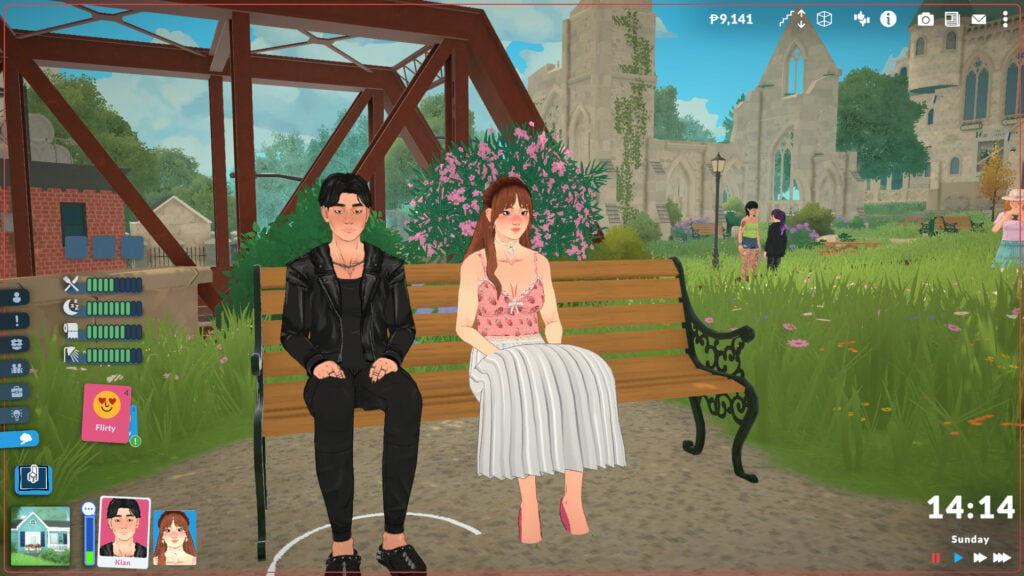
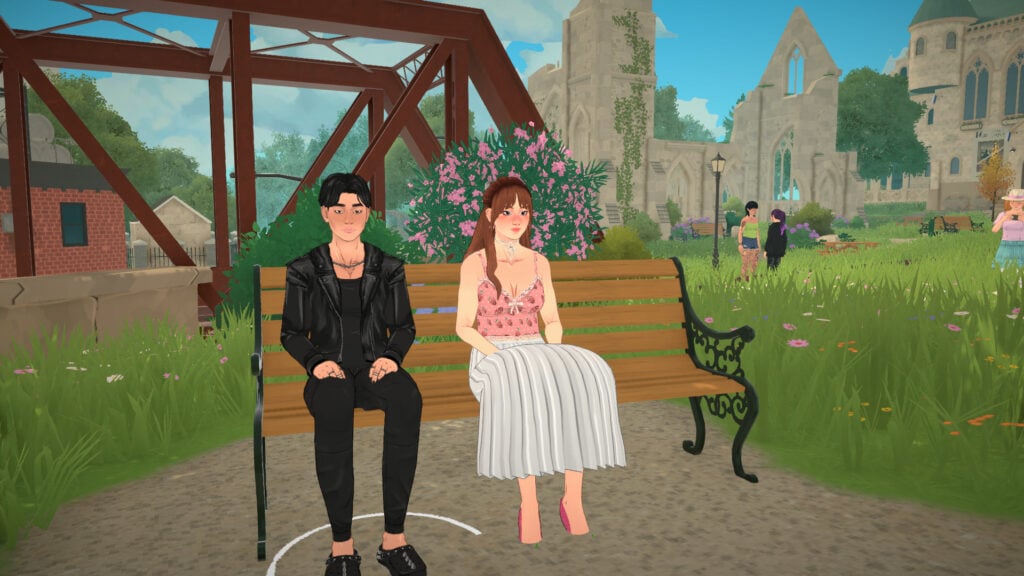
You can remove the interface with Ctrl+H to take cleaner screenshots in live mode and capture real moments from your Parafolk without needing to open Photo Mode!
Getting in style! Change outfits for your pictures
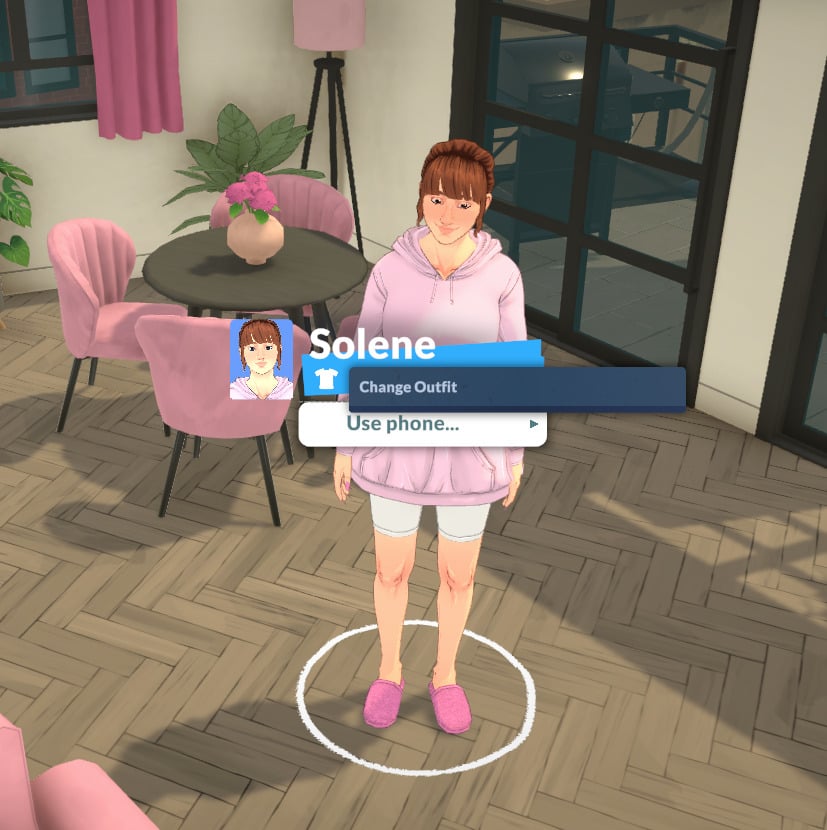
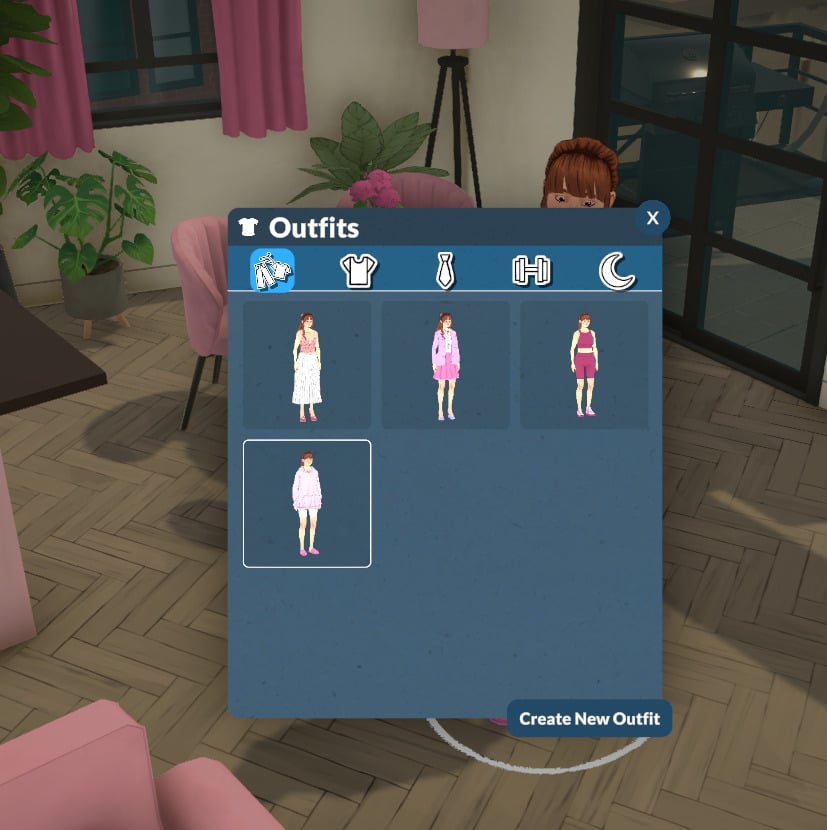
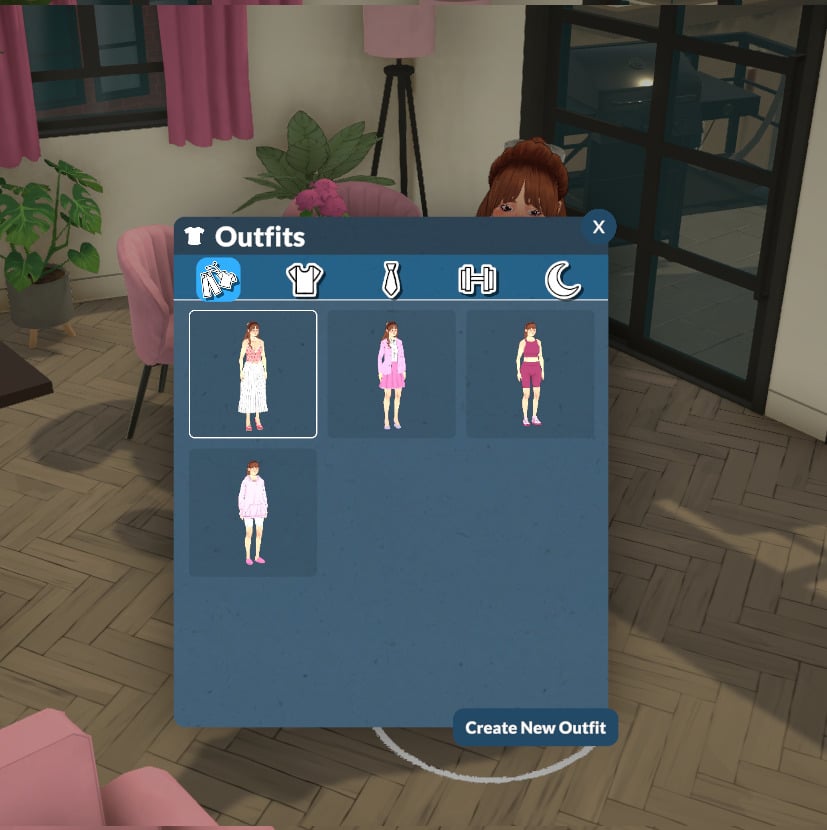
Don't forget to change your Parafolk's outfit before starting to take pictures! The easiest way is to simply click on your Parafolk and select "Change Outfit".
Get the walls up when taking pictures
In Paralives, after loading into a lot, players typically toggle the walls down. For photo mode, though, remember to raise the walls for a more realistic look in your screenshots!
Wrapping it up!
The photo mode is a thoughtful addition by the Paralives team, allowing players to capture better screenshots without external software. You can move your Parafolk, pose them, apply filters, and more, all with in-game features!
Now we want to hear from you! What do you think about photo mode? Are you using it during your gameplay? Let us know in the comments! And don't forget to check out the Paralives section for more about the game!

0 Comments
Be the first to comment.
Welcome to Sims Community!
Our community is about connecting people through open and thoughtful conversations. We want our readers to share their views and exchange ideas in a safe space.
In order to do so, we've created a simple set of rules that will improve your experience. Simply put, keep it civil.
Your post will/might be rejected if it contains:
User accounts will/might be blocked if we notice:
So, how can you be a power user?
Thanks for reading our community guidelines. Please note that we're aware of certain issues with Sign In / Log In and Create Account / Email Confirmation issues. We're working behind-the-scenes on a new Account Creation process. Thank you for your patience and remember - freedom of speech is not freedom of reach